• Skip to primary navigation
  • Skip to main content
  • Skip to primary sidebar
  • Skip to footer
  • Faith
  • Motherhood
    • Pregnancy
    • Meal Planning
      • Recipes
    • Large Families
  • Homeschooling
    • Homeschooling & Homemaking Printables {Free!}
    • Homeschool Room
    • Curriculum Reviews
    • Curriculum
    • Arts & Crafts
      • DIY
  • Special Needs
    • Dyslexia
    • Autism
  • About Us
    • Contact Us
  • Sponsors/Media Kit

Such a Time As This

Faith, Hope, & Love

07/13/2015

We love CLE Math

11226937_10152831779987811_3781640658987693845_o


Here is my confession for today: before I knew my second son had dyslexia and dysgraphia, I ended up using 3 different math curriculum before I found one I liked.  I couldn’t get anything to stick.  I was getting very worried that it was me, my teaching style, or that he would not grasp math.

11703152_10152856085222811_5453110350158791254_n 11745393_10152856085227811_4257315043557191752_n

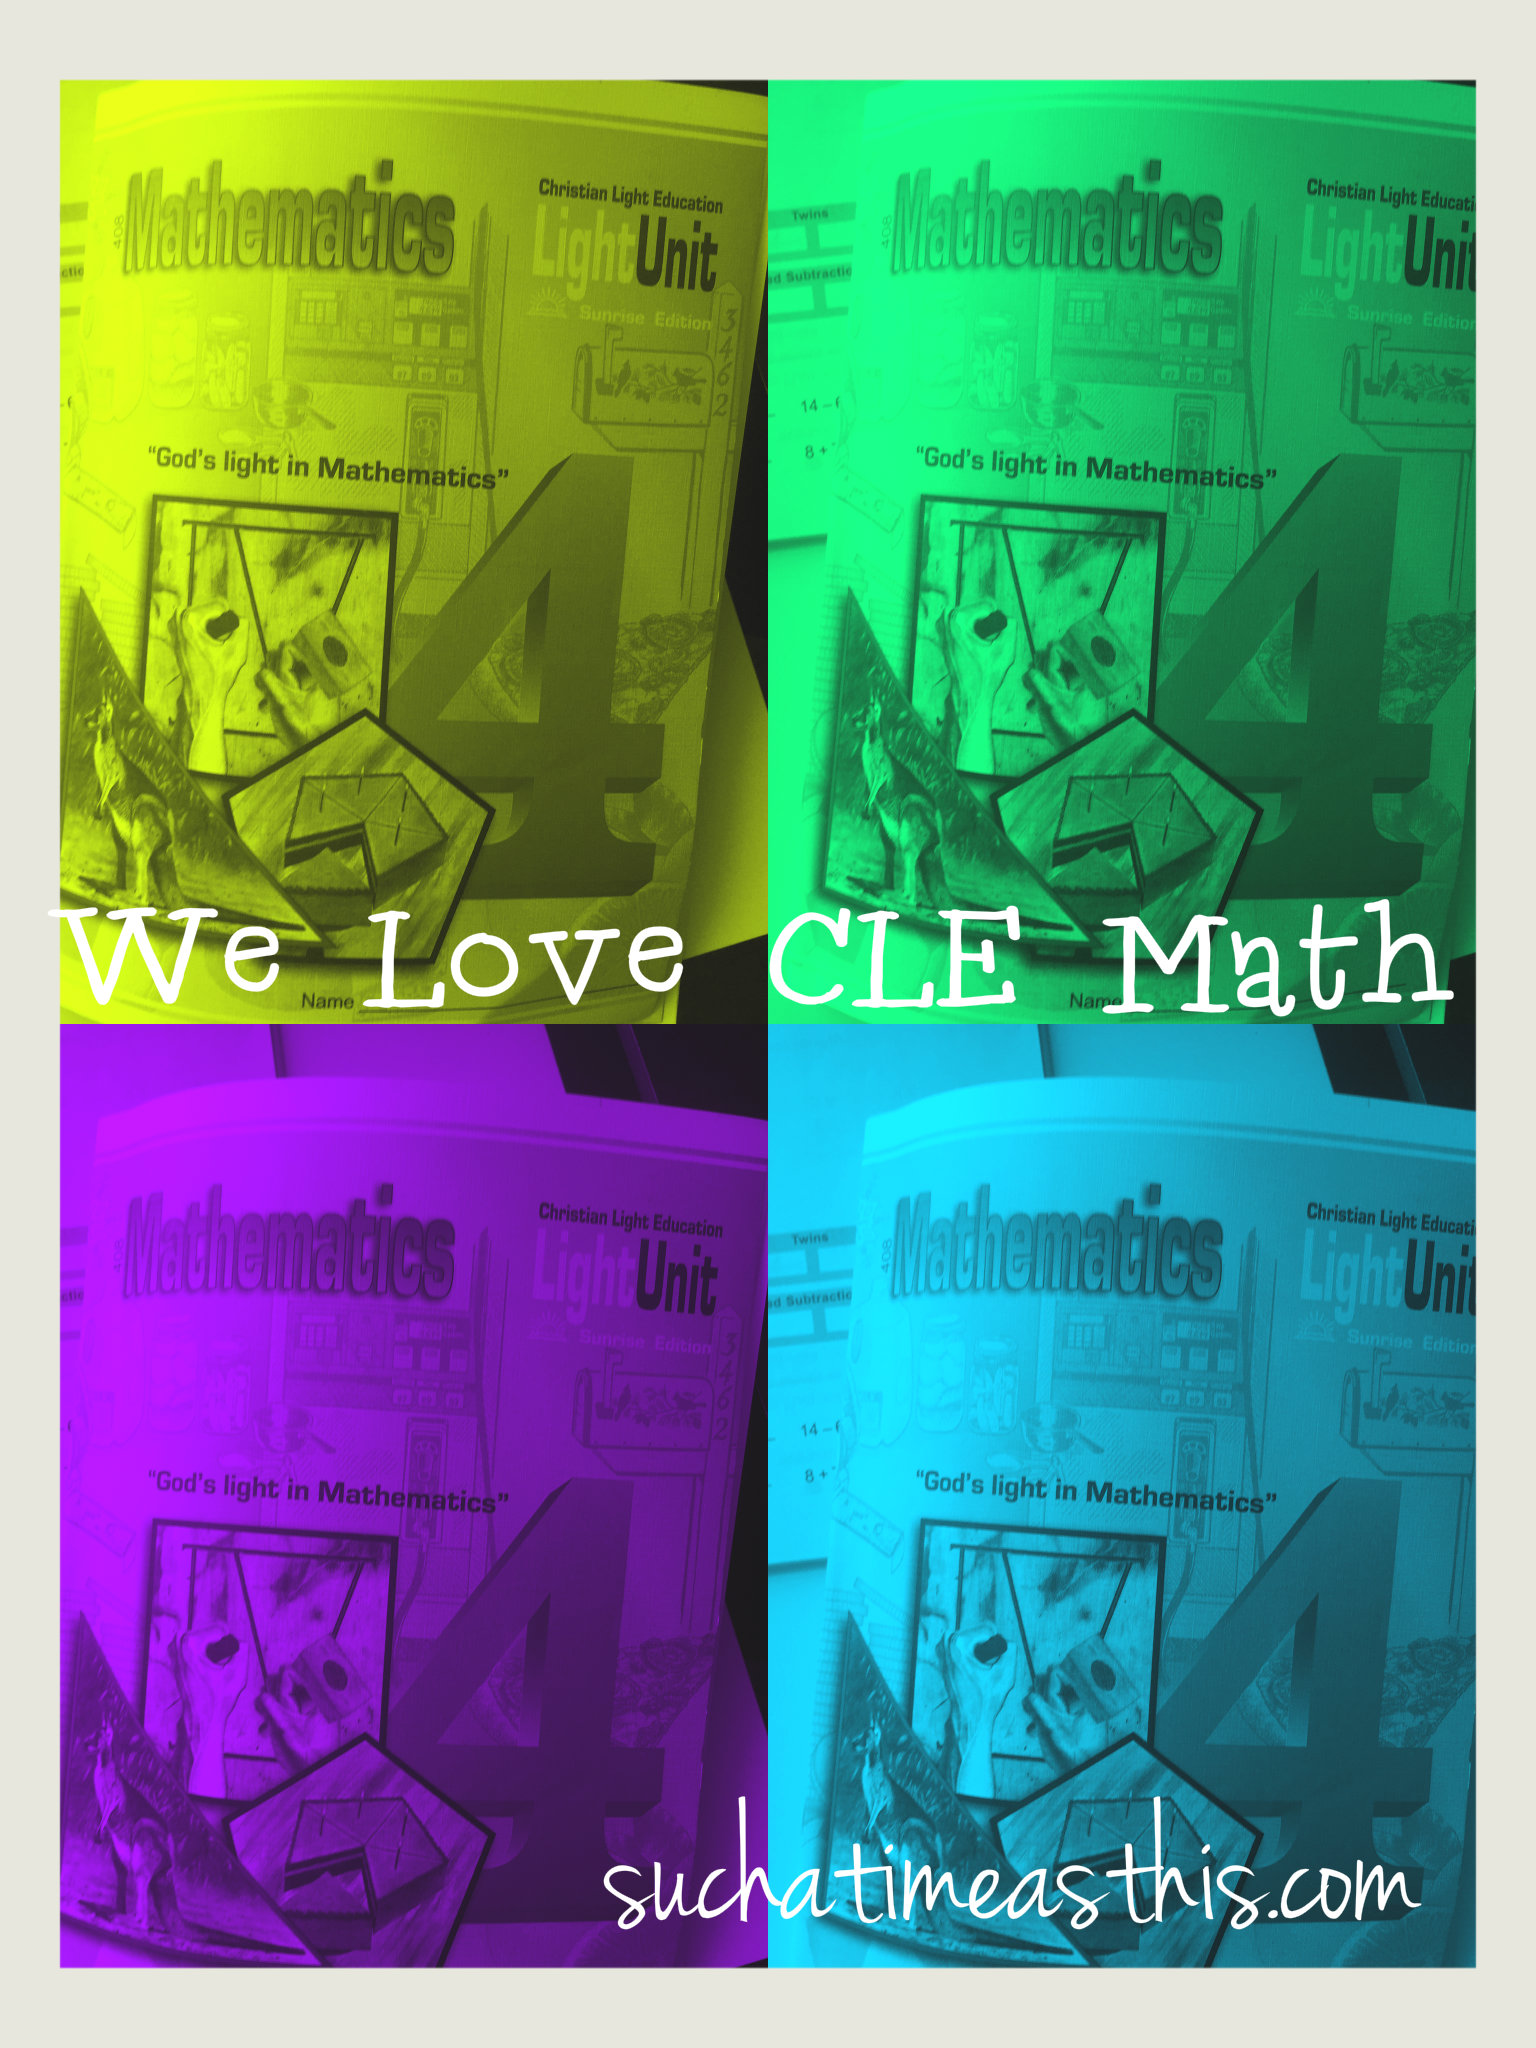
Of course, the first curriculum I used in Kindergarten is a very popular math curriculum.  This only furthered my frustration when it didn’t click with my son.  The second we used for the first semester of 1st grade also gets awesome reviews but didn’t work well for us and then we went through a move and I switched to another curriculum to see if that would stick.  Still no.  I was getting desperate.  I then read on a homeschooling forum about CLE (Christian Light Education) Math.  This was much different from the other three math curriculum.  This one is spiral the others were all mastery approach.  This one teaches very short “lessons” the others do not.  This one has built in speed drills, flash cards, practice, quizzes and tests!

10835063_10152831779977811_9087175043291449894_o

By the end of 1st grade we had started him on CLE Math.  By the time 2nd grade was in full swing we had noticed a huge improvement in his mathematical ability.  He suddenly had gained confidence.  He was retaining what he had learned!  What’s more, on his end of year testing he was scoring years ahead of average.  He now scores 3-4 grade levels ahead on math reasoning and computation is about 2 years ahead.

11745403_10152856085232811_6546055621094260697_n

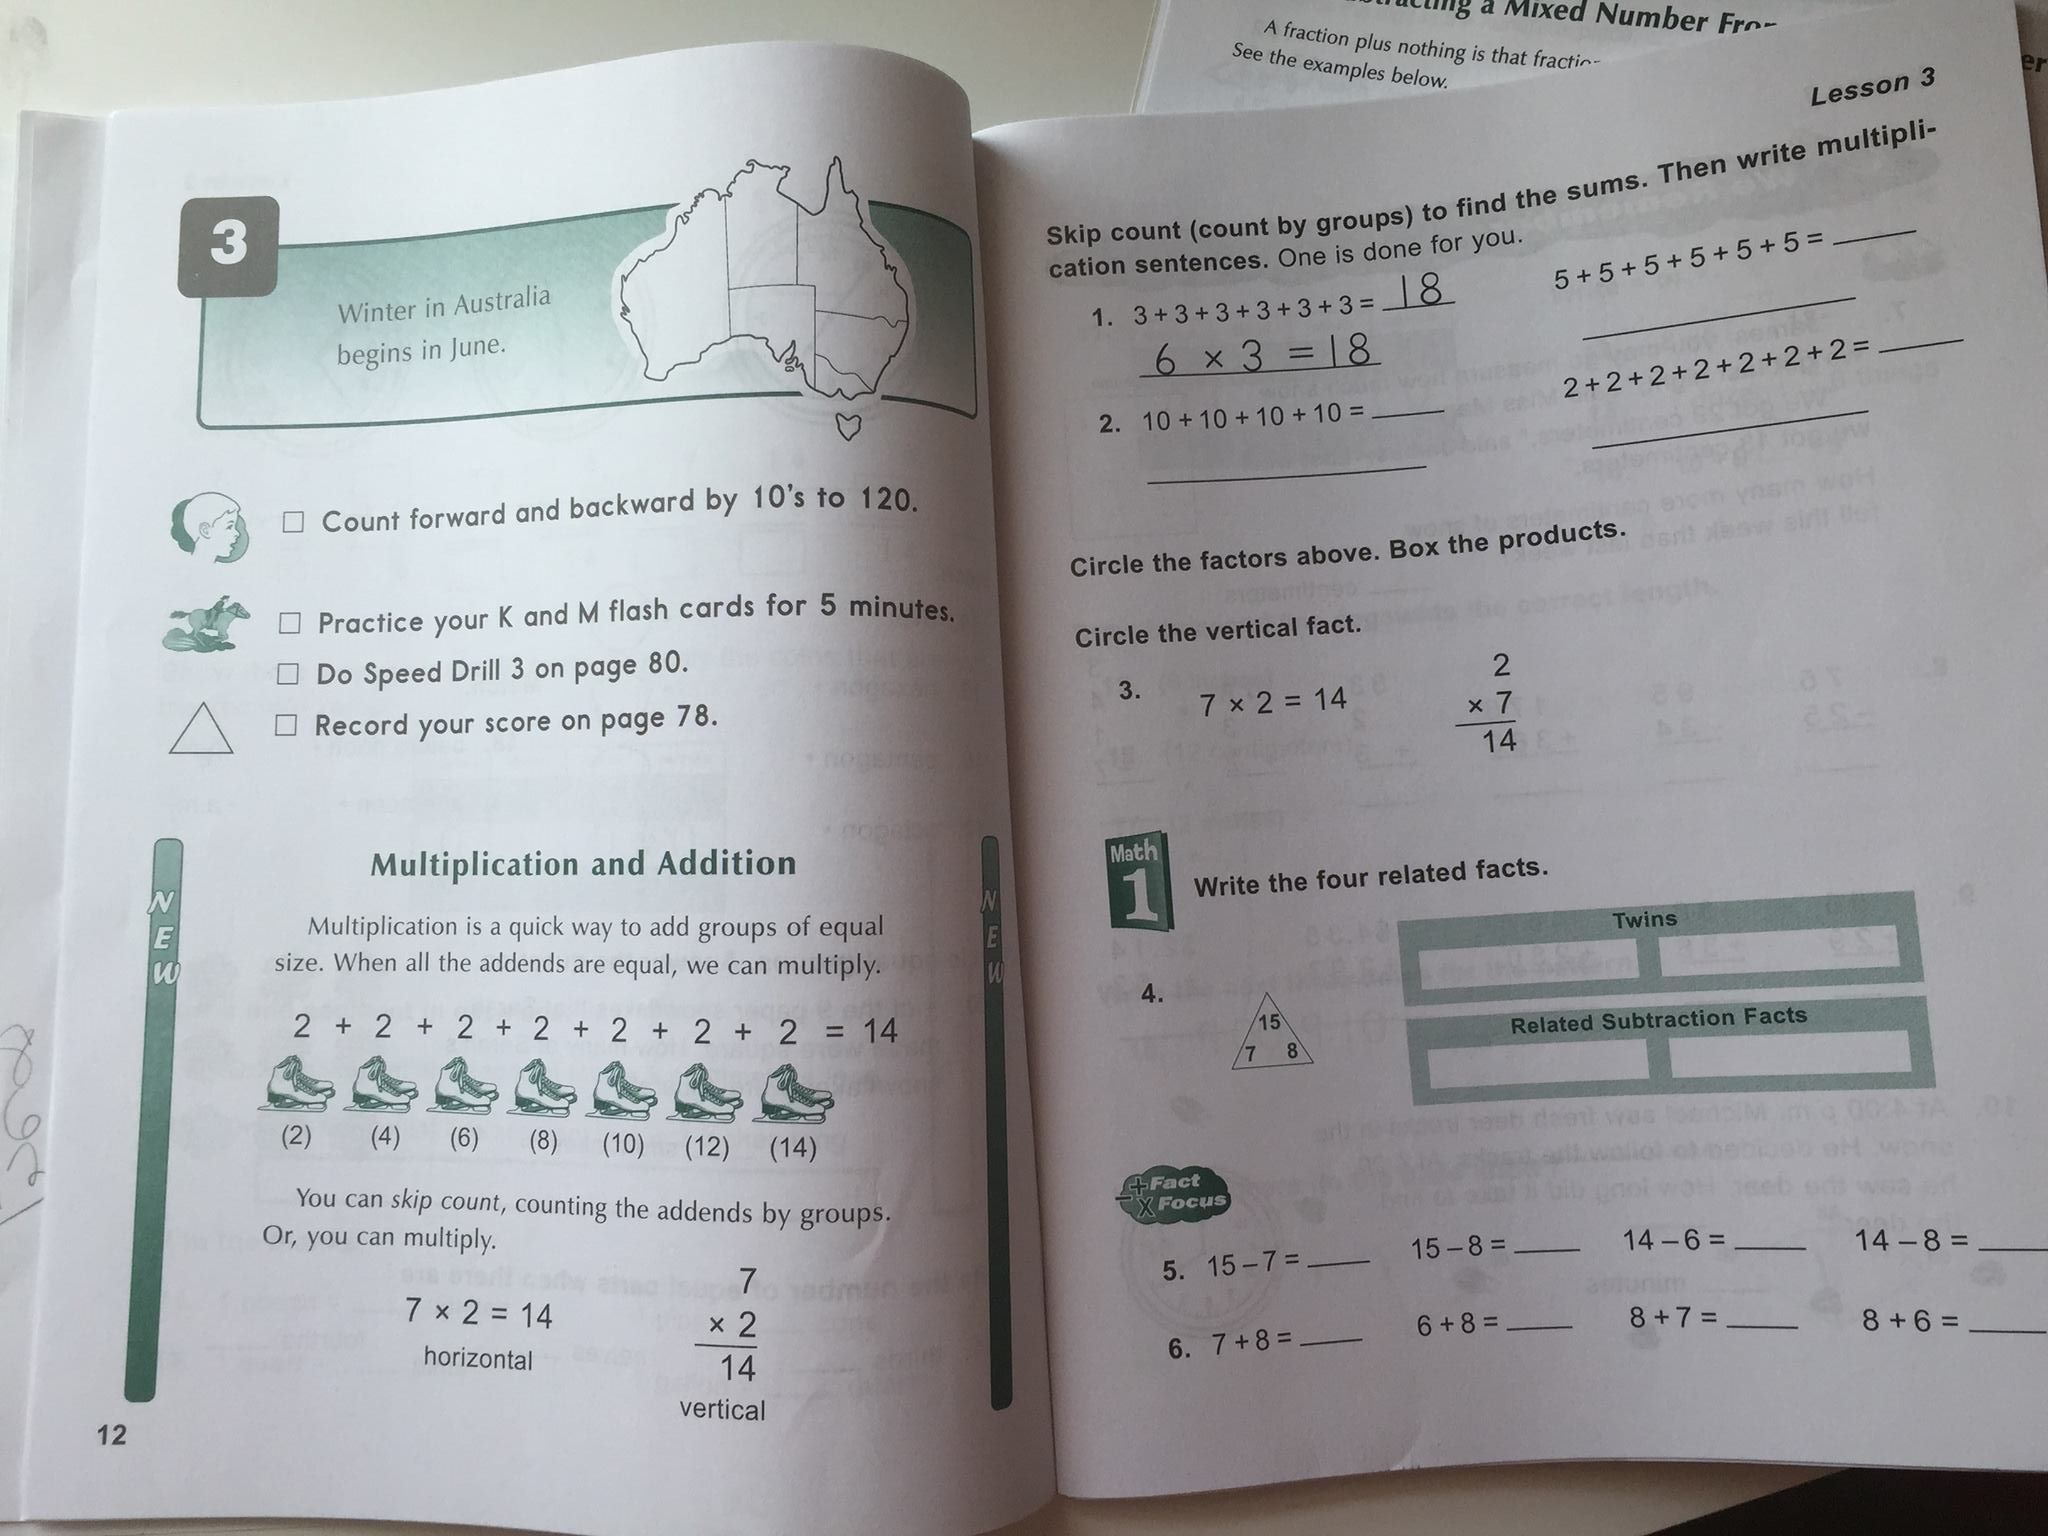
It might be that this math curriculum is no frills.  There are no bright colors, there are no extra pieces to remember.  For a kid with dyslexia or other learning disabilities all the colors and pictures might get too distracting.  Think sensory overload.  All the problems are in the thin workbook that, to be honest, doesn’t look like much.  It is a very lightweight book called a “lightunit”.  One year is made up of 10 of them.  Each lesson only takes a few minutes to teach.  There are a few practice question on what they learned and then several pages of practice questions reviewing what they’ve learned in previous lessons.  There are questions even spanning things they learned in previous grade levels.  This is the secret to keeping everything fresh in their minds!

11000671_10152831779982811_6256550293857598798_o

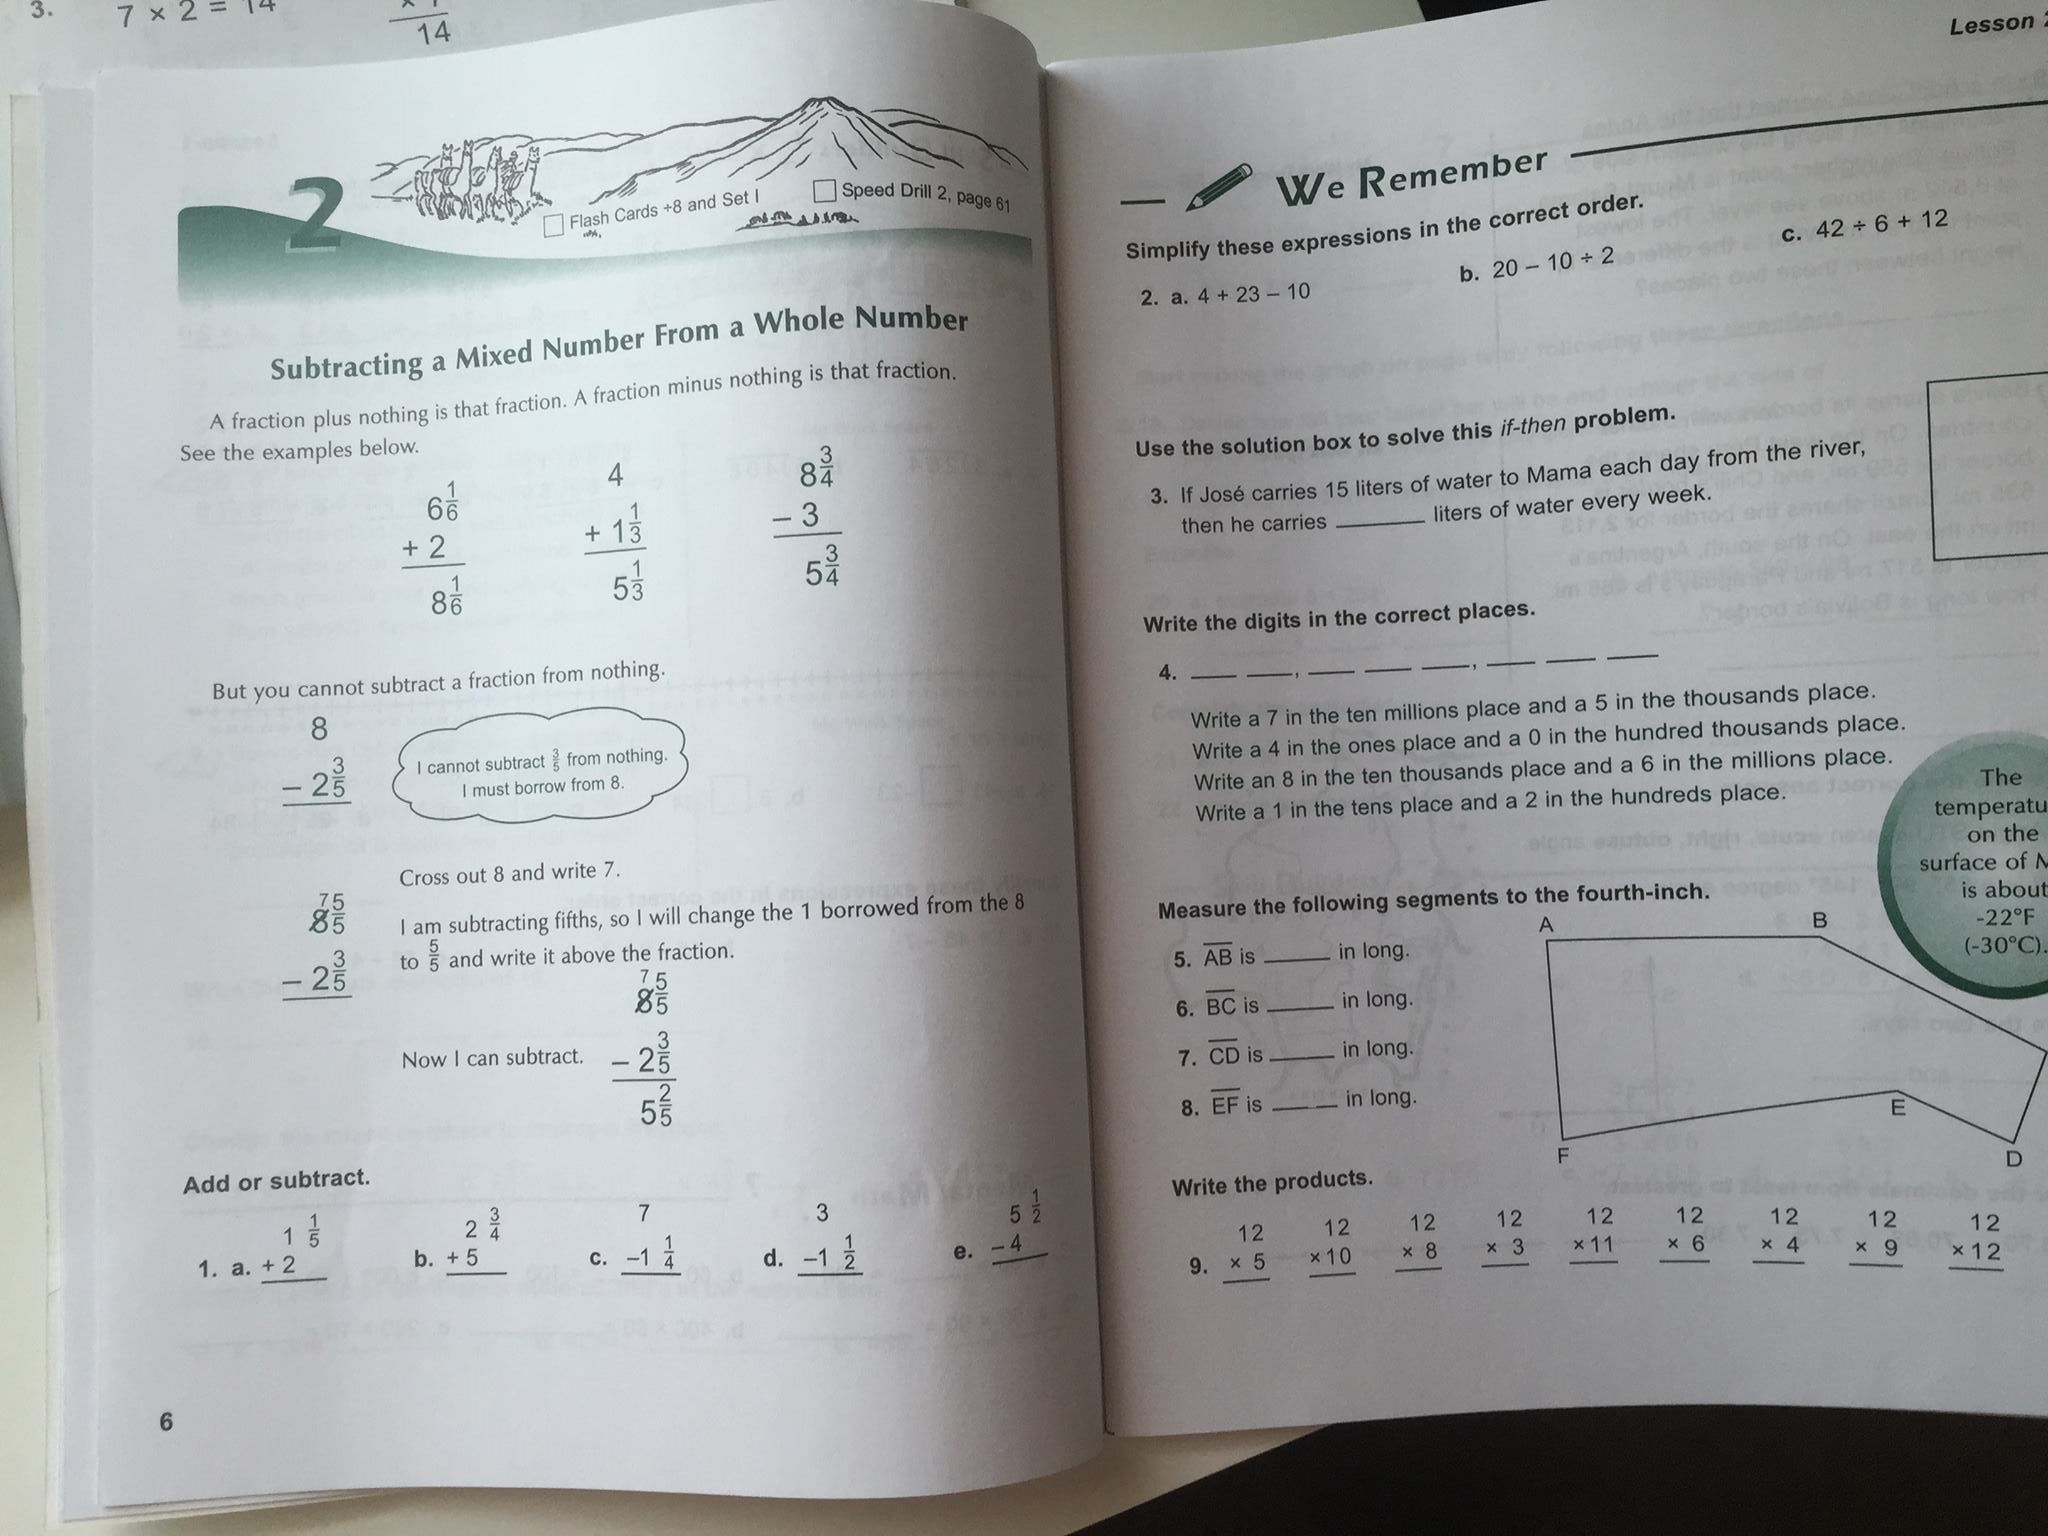
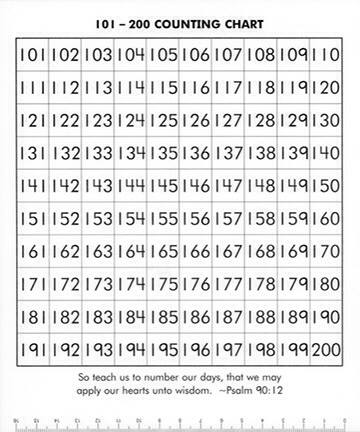
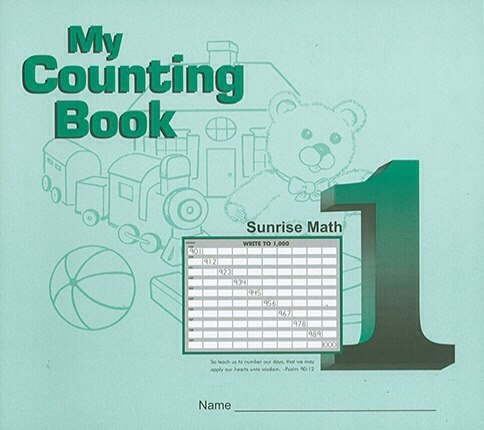
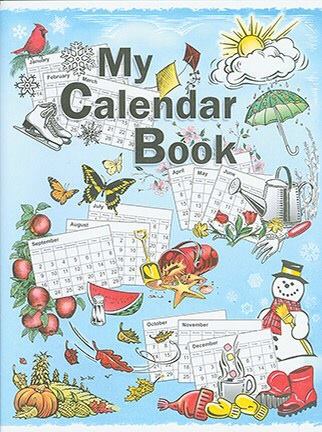
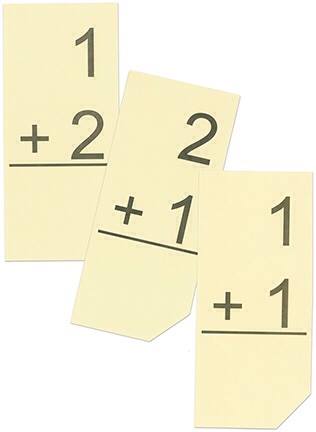
The setup is the same in each lightunit. Lesson 5 and 10 are actually quizzes and then there is a test at the end of the book.  I think this method gives the kids a sense of accomplishment.  I like the few “extras” that can be purchased for first or second grade.  There is a number chart, a calendar book and flash cards.  I love this curriculum so much, that we are also using it on our 2nd grader and our oldest son, who has special needs.

10464360_10152856085237811_5428047814086561380_n

He is excelling with this math program, as well, even through his moderate disabilities and delay.  The short lessons are key for him.  He feels rewarded by doing a quick lesson and then a bunch of review.  He also truly enjoys the speed drills which he thinks are “easy” and he has succeeded at getting 100% in 1 minute on two drills.  The others he’s been off by 1 or 2…which serves as a source of encouragement for him.   (I want to note that I purposefully started him in a lightunit that I thought he already understood most of the material so that it wasn’t too challenging.  Making work too hard has had a way of backfiring on us with him.)10835063_10152831779992811_5929078711827912700_o

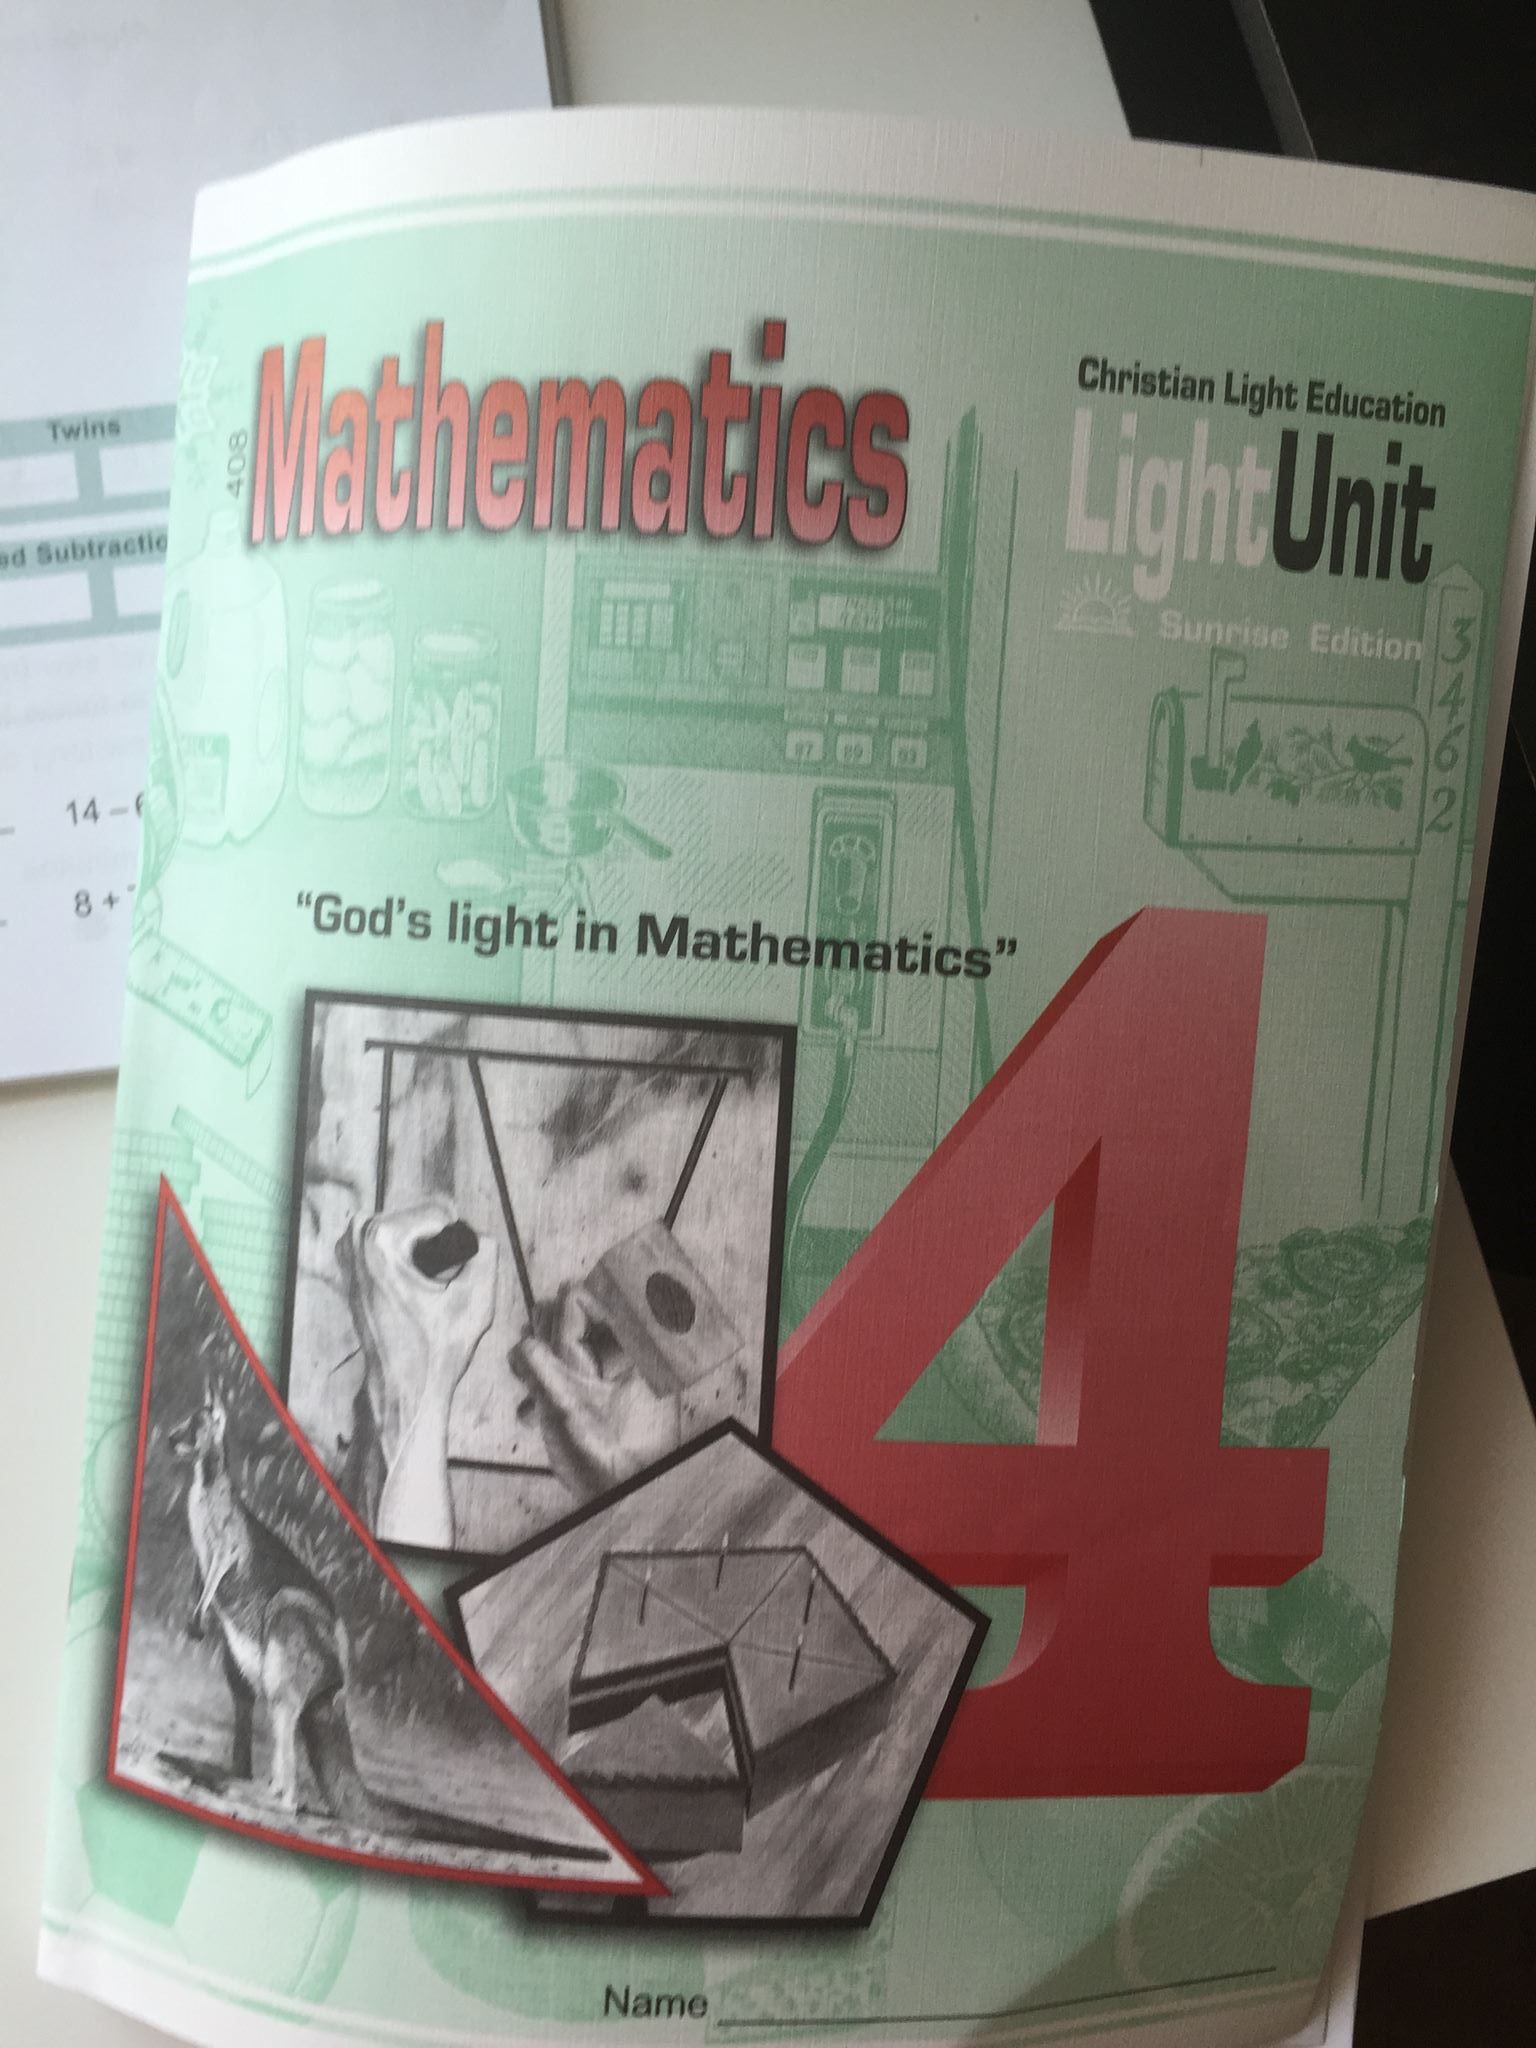
All in all, I’m very pleased with CLE and I’m so happy I happened upon it several years ago.  Please leave a comment and let me know what math curriculum you have used and which ones are your favorites!

Filed Under: Autism, Curriculum Reviews, Dyslexia, Homeschooling, Special Needs Sasha

07/12/2015

How we use Heart of Dakota Preparing

Heart of Dakota Preparing Hearts for His Glory

(In the spirit of full disclosure, this post does contain amazon affiliate links, which means that I may get a commissions if you decide to purchase anything from the following links. I only recommend products that I use and love myself!)

heart of dakota preparing

About midway through my last pregnancy, I decided to switch up our homeschooling curriculum.  I needed something that was all-in-one.  I needed something that could keep me organized in my homeschooling.  That was when I found and decided on Heart of Dakota: Preparing Hearts for His Glory.  It is marked as geared for 8-10 year old kids.  The two kids I was interested in using this with were 7.5 and just turning 10.  The teacher book is divided up into a two page spread for each day.  Each page is divided up into boxes so that you can see what needs to be done.  There is a history box and a science box among others.  Here is a glimpse at what the inside of the teacher book looks like: Click here.  They include 4 days in a week (or unit).  This leaves a 5th day to be involved in a co-op or to catch up on extra-curricular activities!

heart of dakota preparing
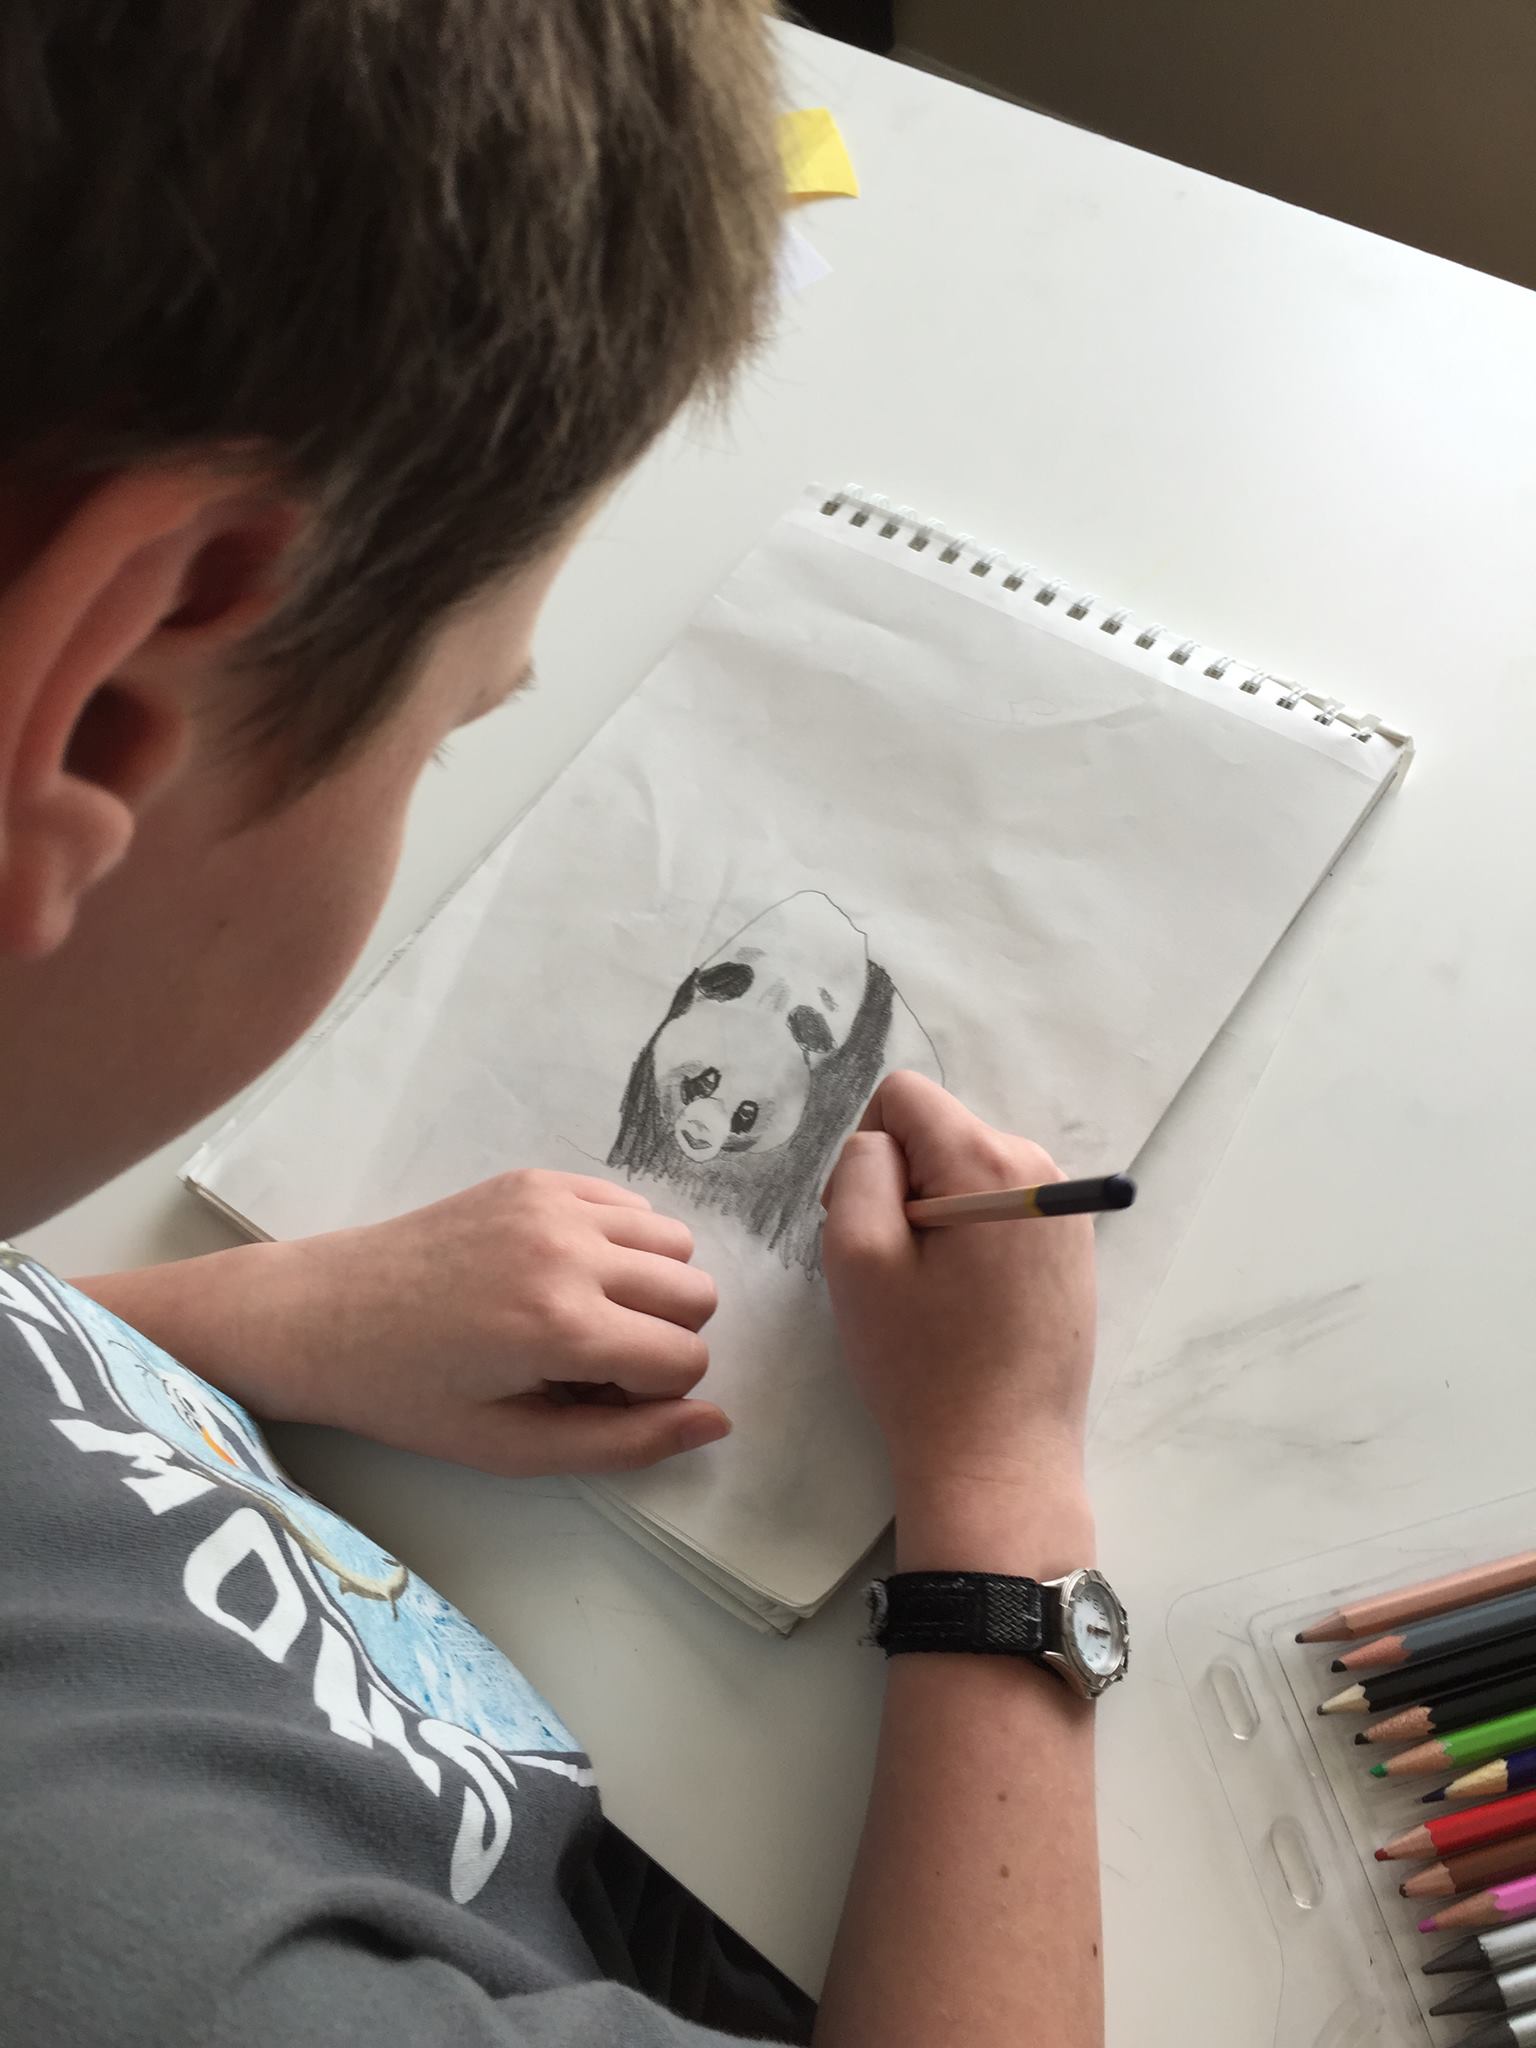
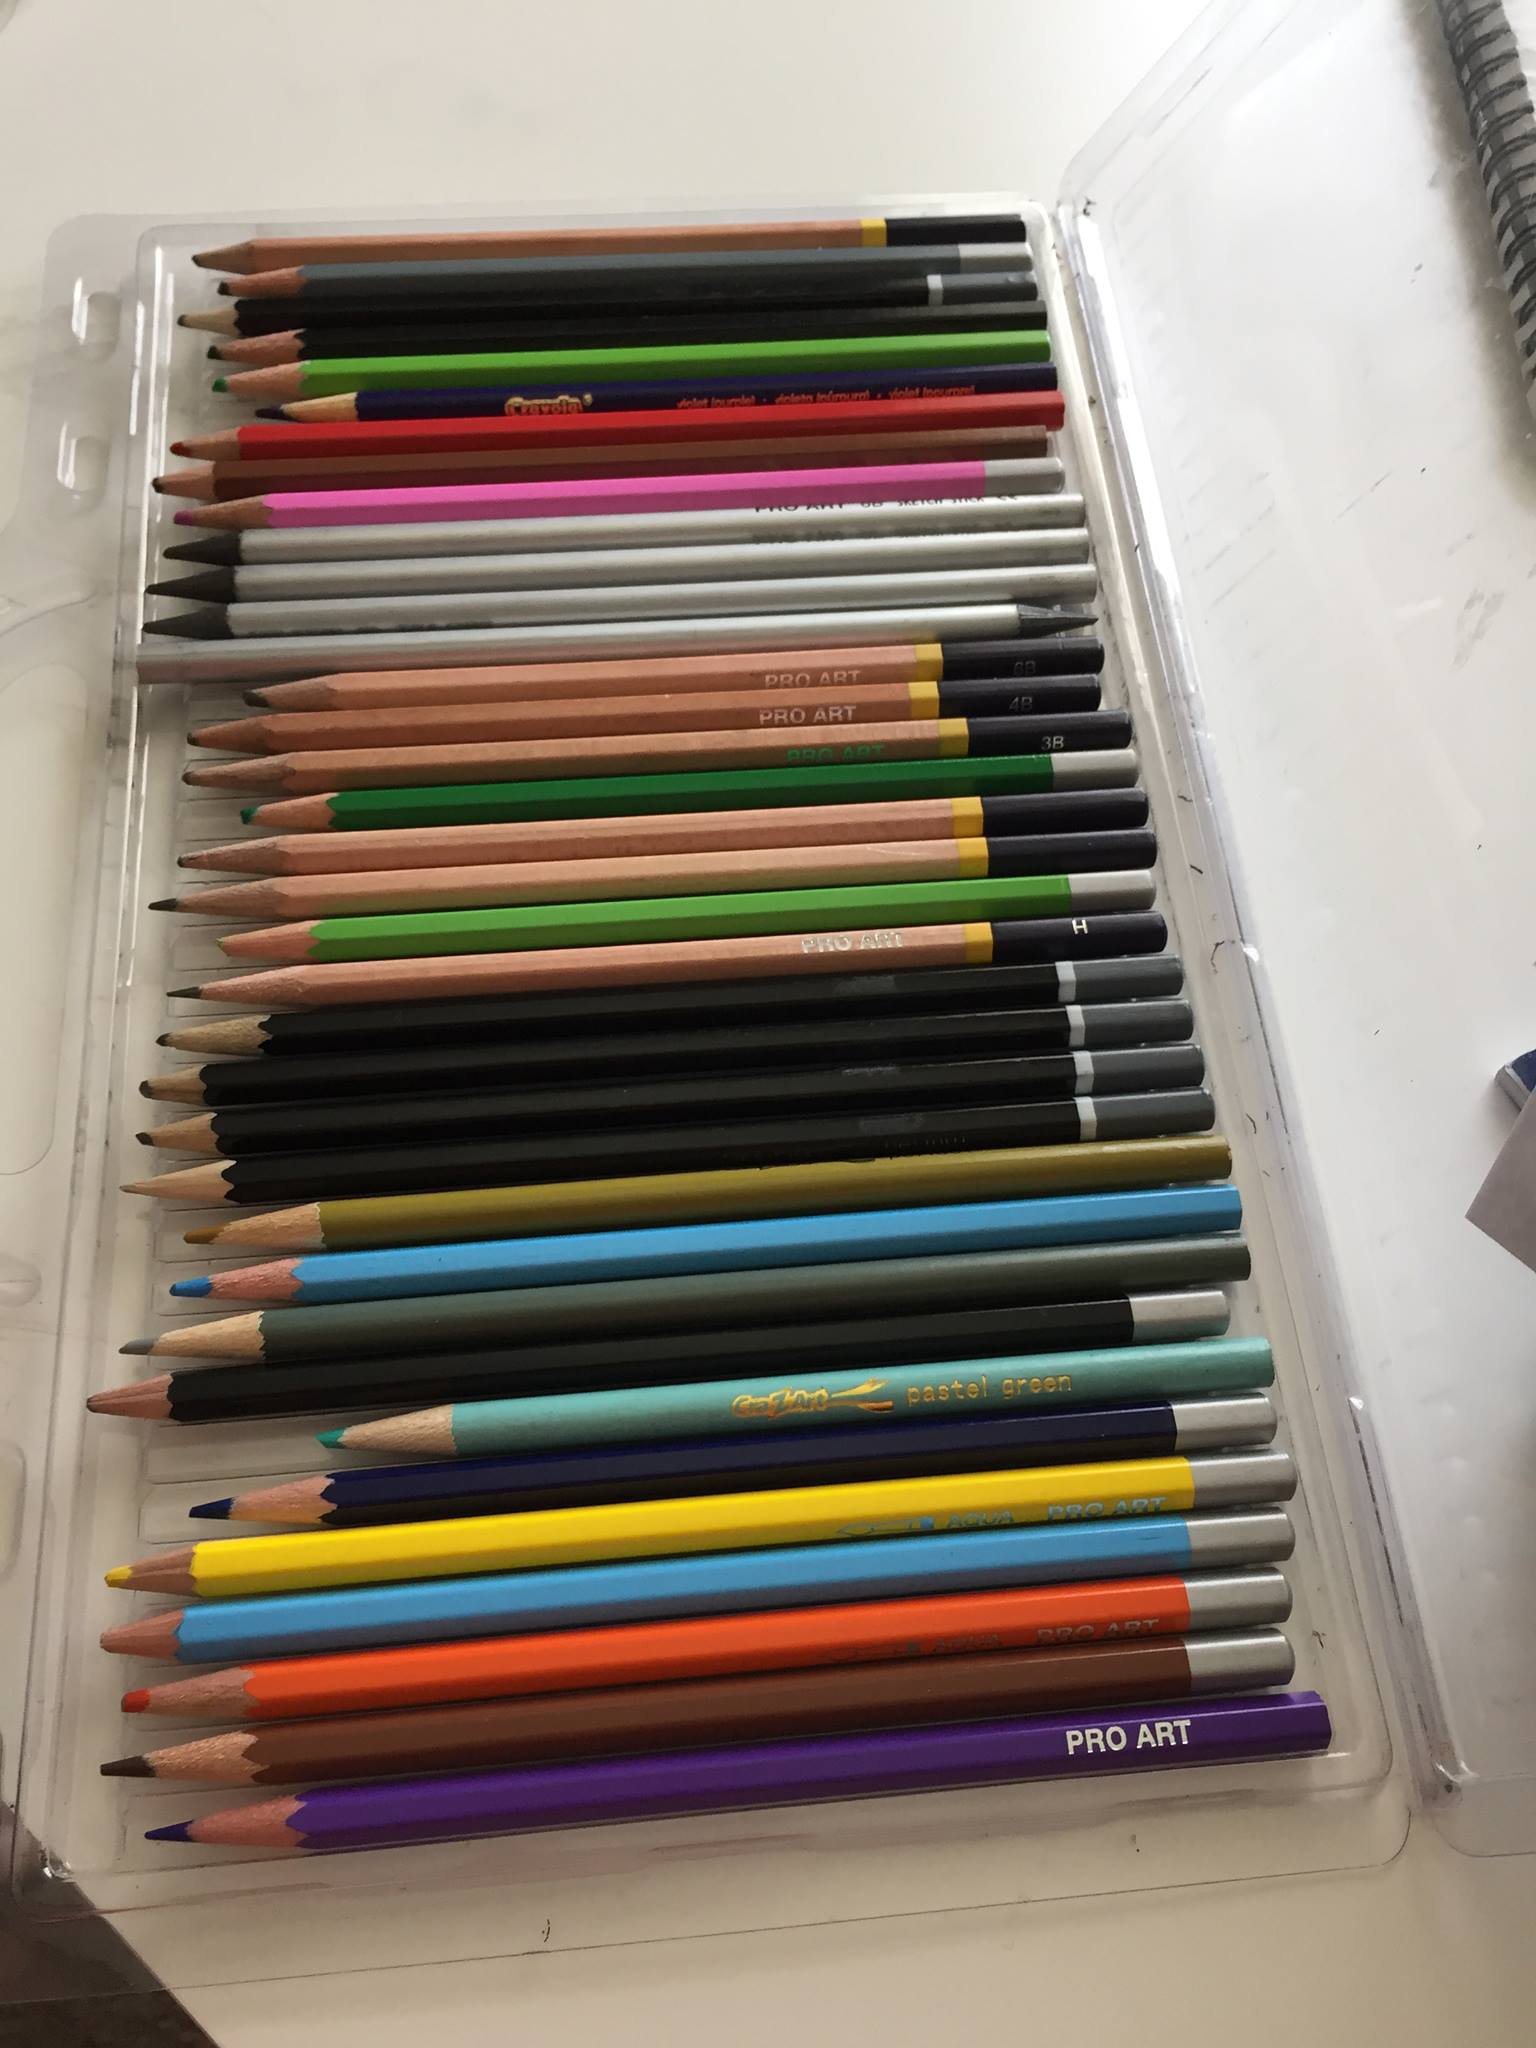
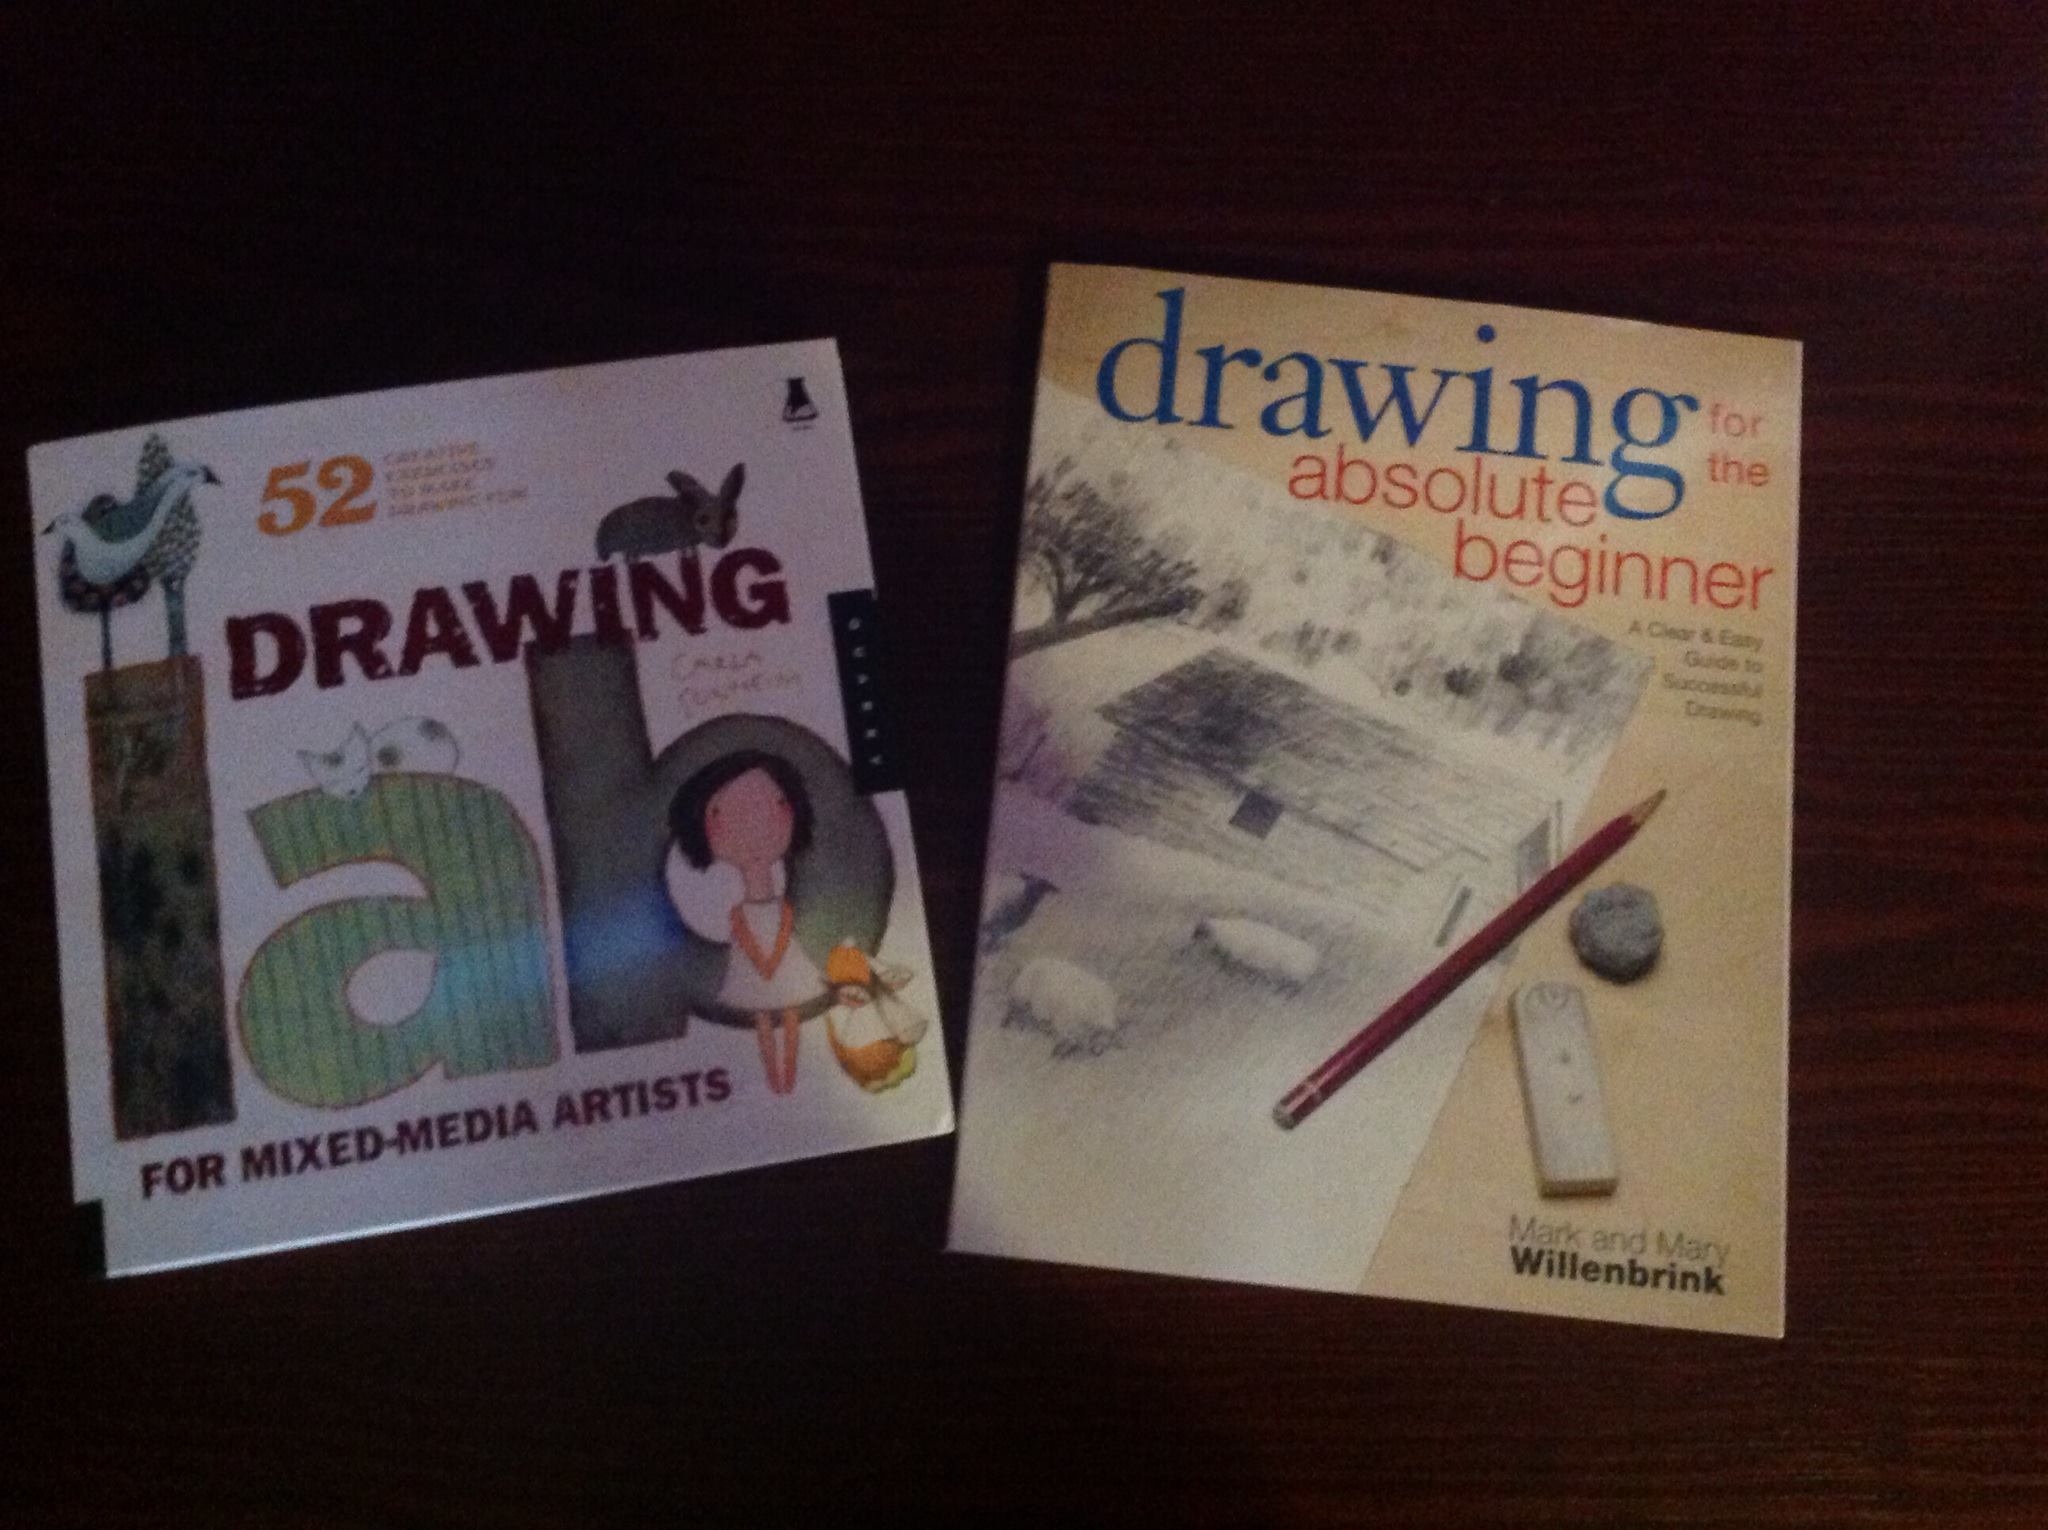
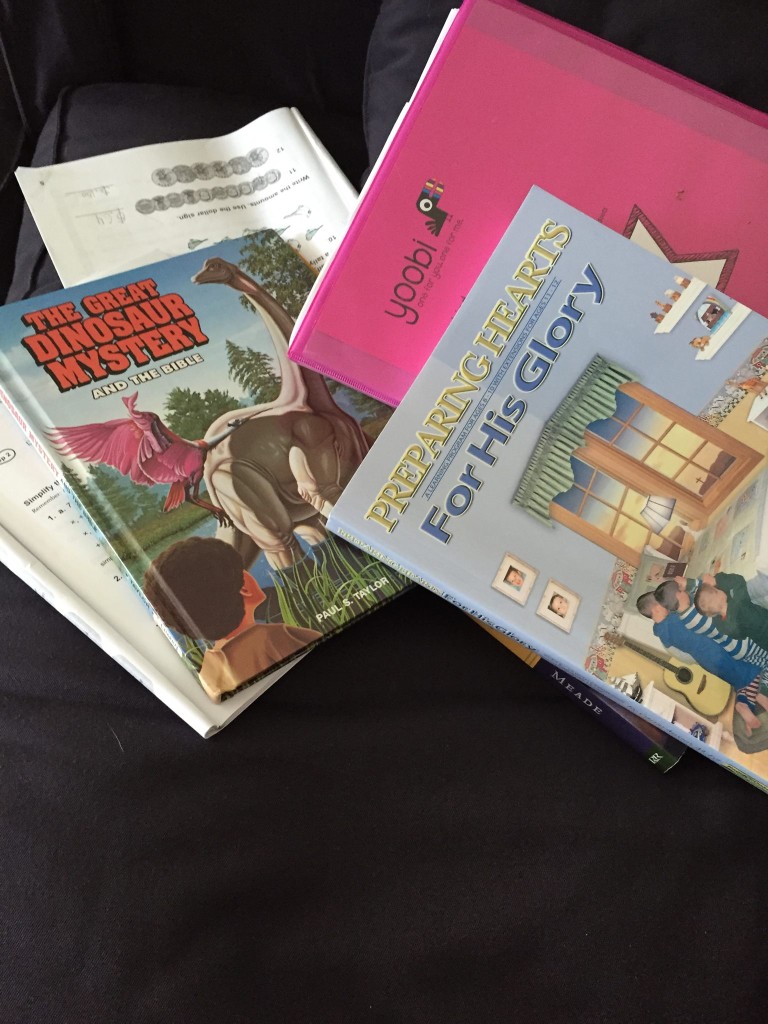
I have loved every minute of this curriculum.  It is created in the style of Charlotte Mason, so the lessons are short and it includes copywork, art, poetry and Bible study.  There are plenty of good literature selections included in the package, as well.  We still use our own math, however, which is CLE (Christian Light Education – more on that soon ). Click Here to read my review of CLE Math.


How do we structure our day?

In the beginning of our time using Heart of Dakota, I began with waking up my older kids earlier than the rest of the little ones.  We started school from 7-8:15am and got an hour of reading and some writing work done early.  In fact, we got all or almost all of our left page done for the day in that hour.  We would then stop to gather the rest of the kids and eat breakfast.  After breakfast I would work one-on-one with each for math and language arts.  I let my 10 year old work independently on spelling and his iPad app for reading.  Most of this time is independent except for the math lessons and language arts lessons.  At nap time we would finish up any reading or Bible Study that we didn’t get to in the morning.  We would end our day with a fun and educational board game.  heart of dakota preparing

This schedule worked for us for several months.  Recently, after the birth of baby number 6, we’ve had to slow our pace down a bit because of sleepless nights with a newborn and because of early morning nursing sessions with her as she grows – the 7 am school time is not in my current schedule.heart of dakota preparing  We work around this by getting most of our schoolwork done in the afternoon.  They still have independent work time in the morning – especially my rising 5th grader, who does spelling, reading, and math review by himself every morning.  I come in at the end to see if he needs help with anything.  My mornings are mostly focused on the infant, toddler, and preschooler at this time.

heart of dakota preparing

How do we organize our supplies?

I wanted to share with you how I organize my Heart of Dakota books.  There are several packages on the Heart of Dakota website that you can choose from.  This means that there are a lot of books to choose from.  Heart of Dakota is a literature based program – so there are plenty of living books suggested and included in this curriculum.

heart of dakota preparing

I invested in several file folder bins which I bought on amazon.
I bought the medium size that came in a six pack.  I used one for the current books that I’m using with the curriculum.  This includes the teacher book, the history book(s), the Bible we read from, and the independent reading books, as well.  This allows me to grab that bin if I need to do school in another room.  At the very least, it helps me locate all the books I’ll need for that day.

heart of dakota preparing
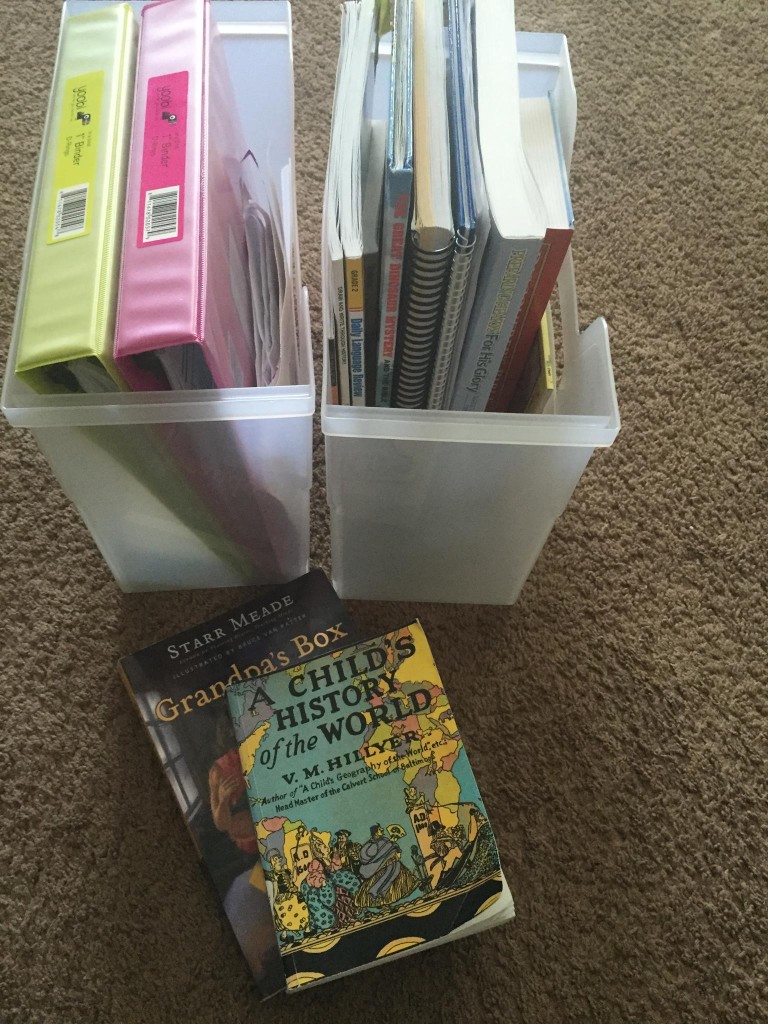
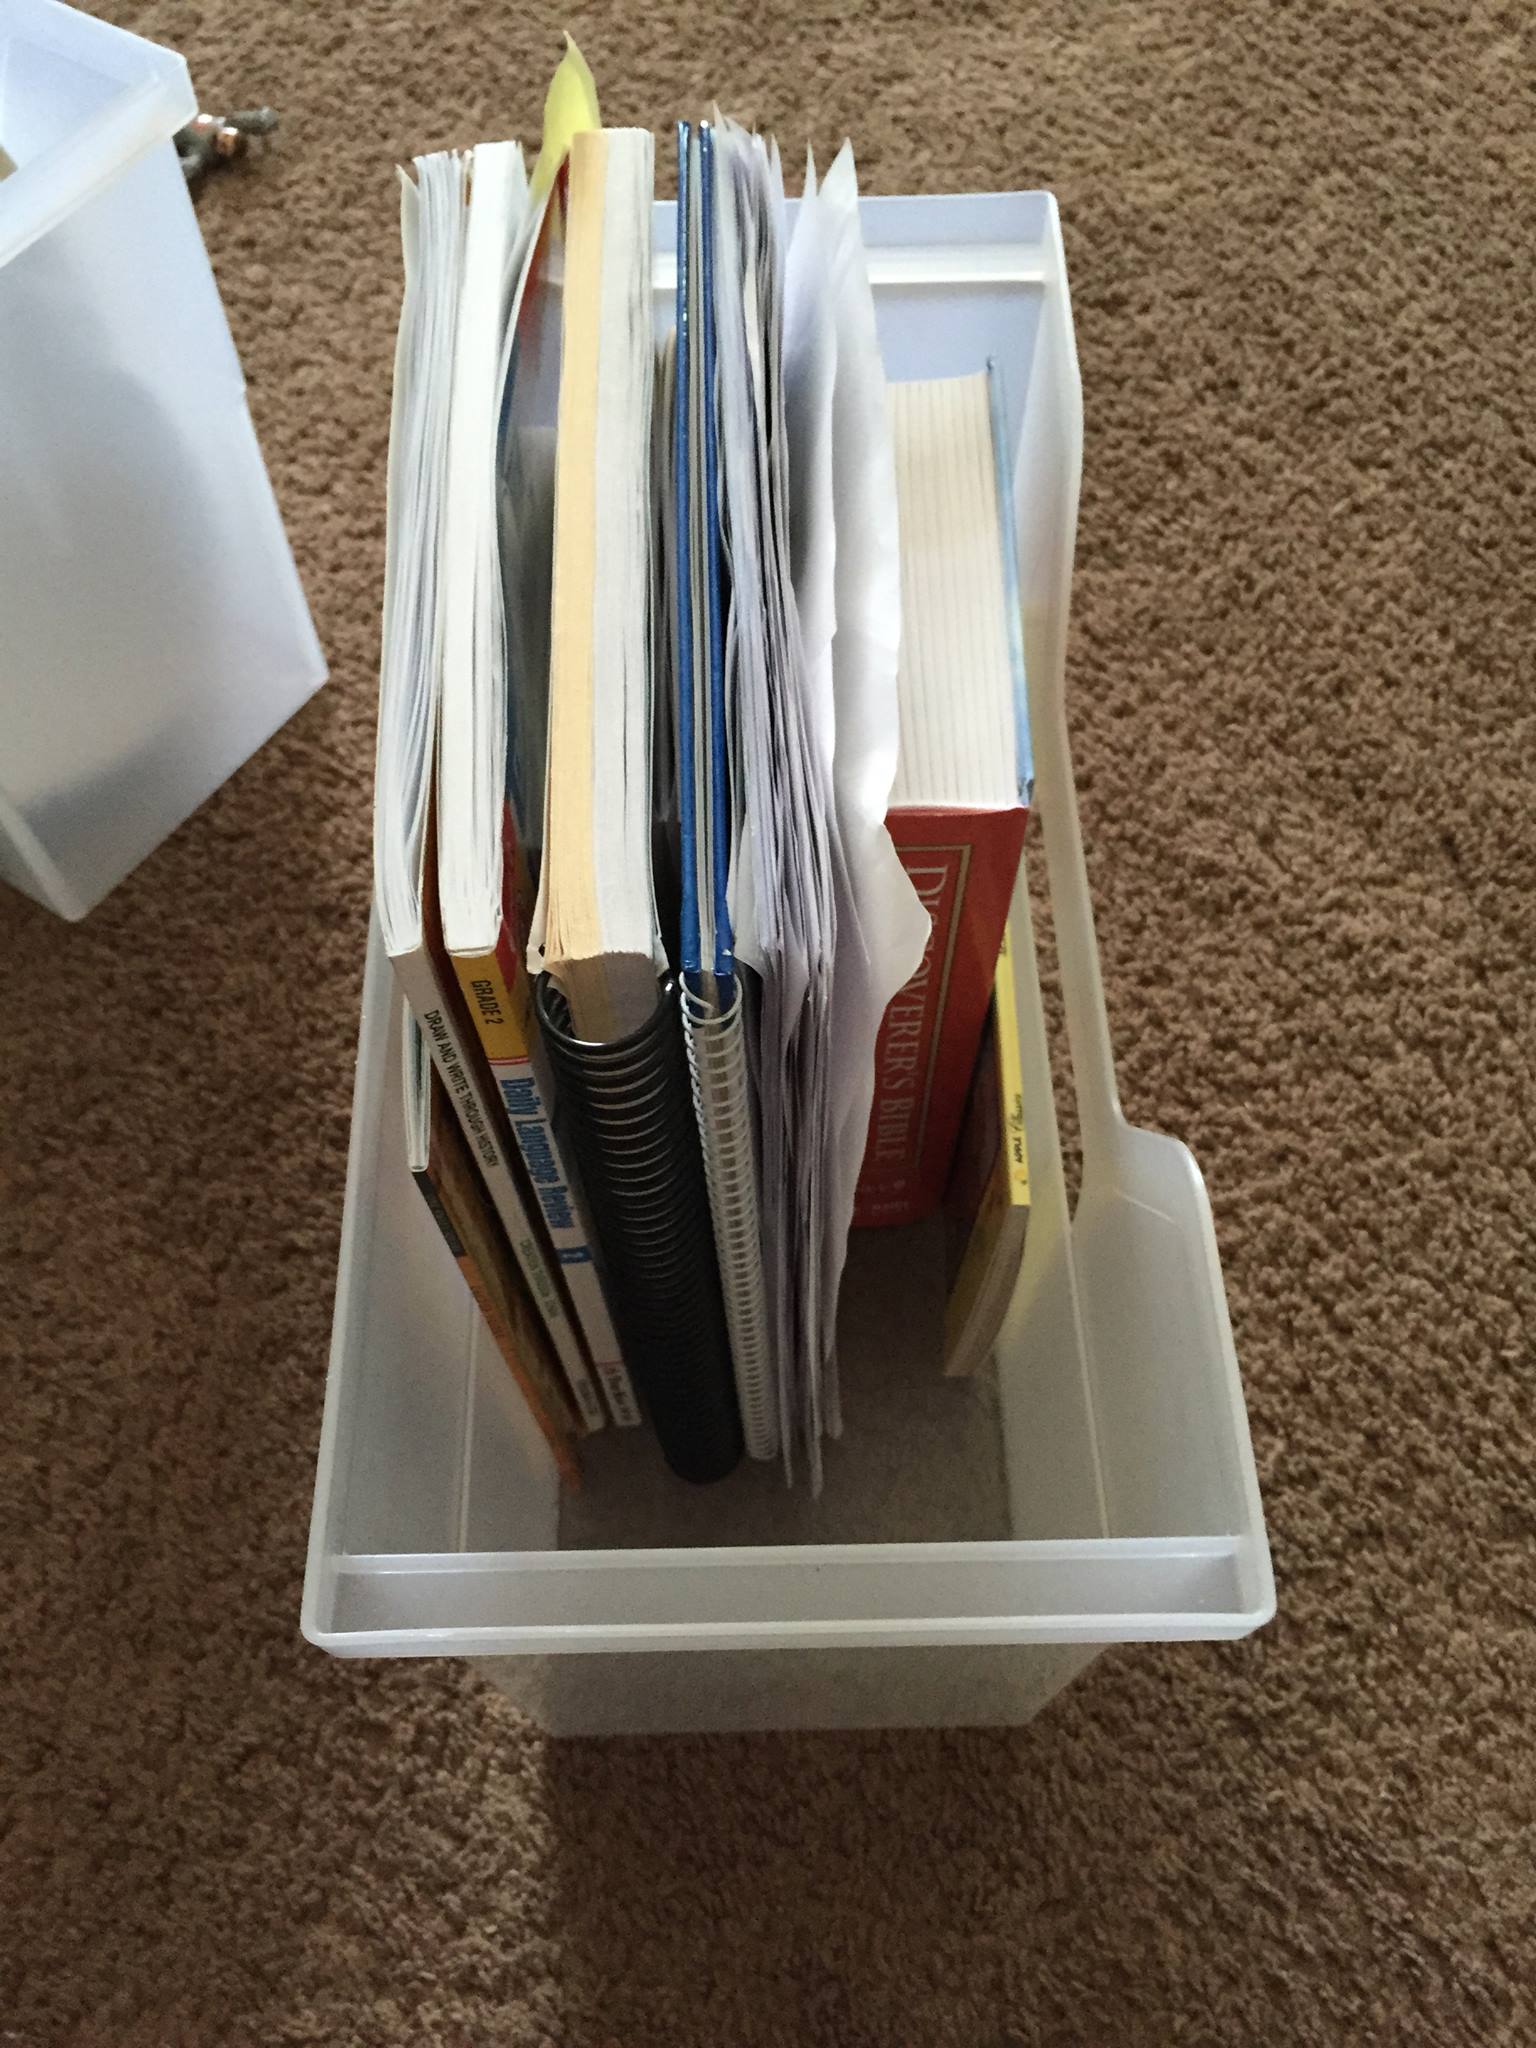
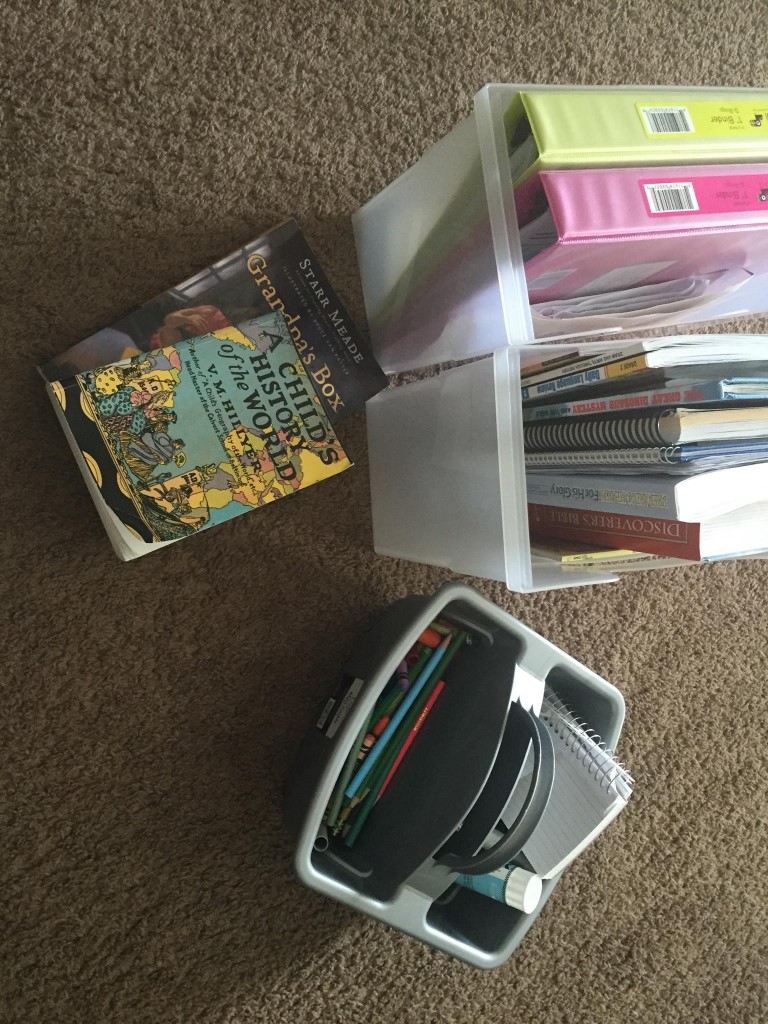
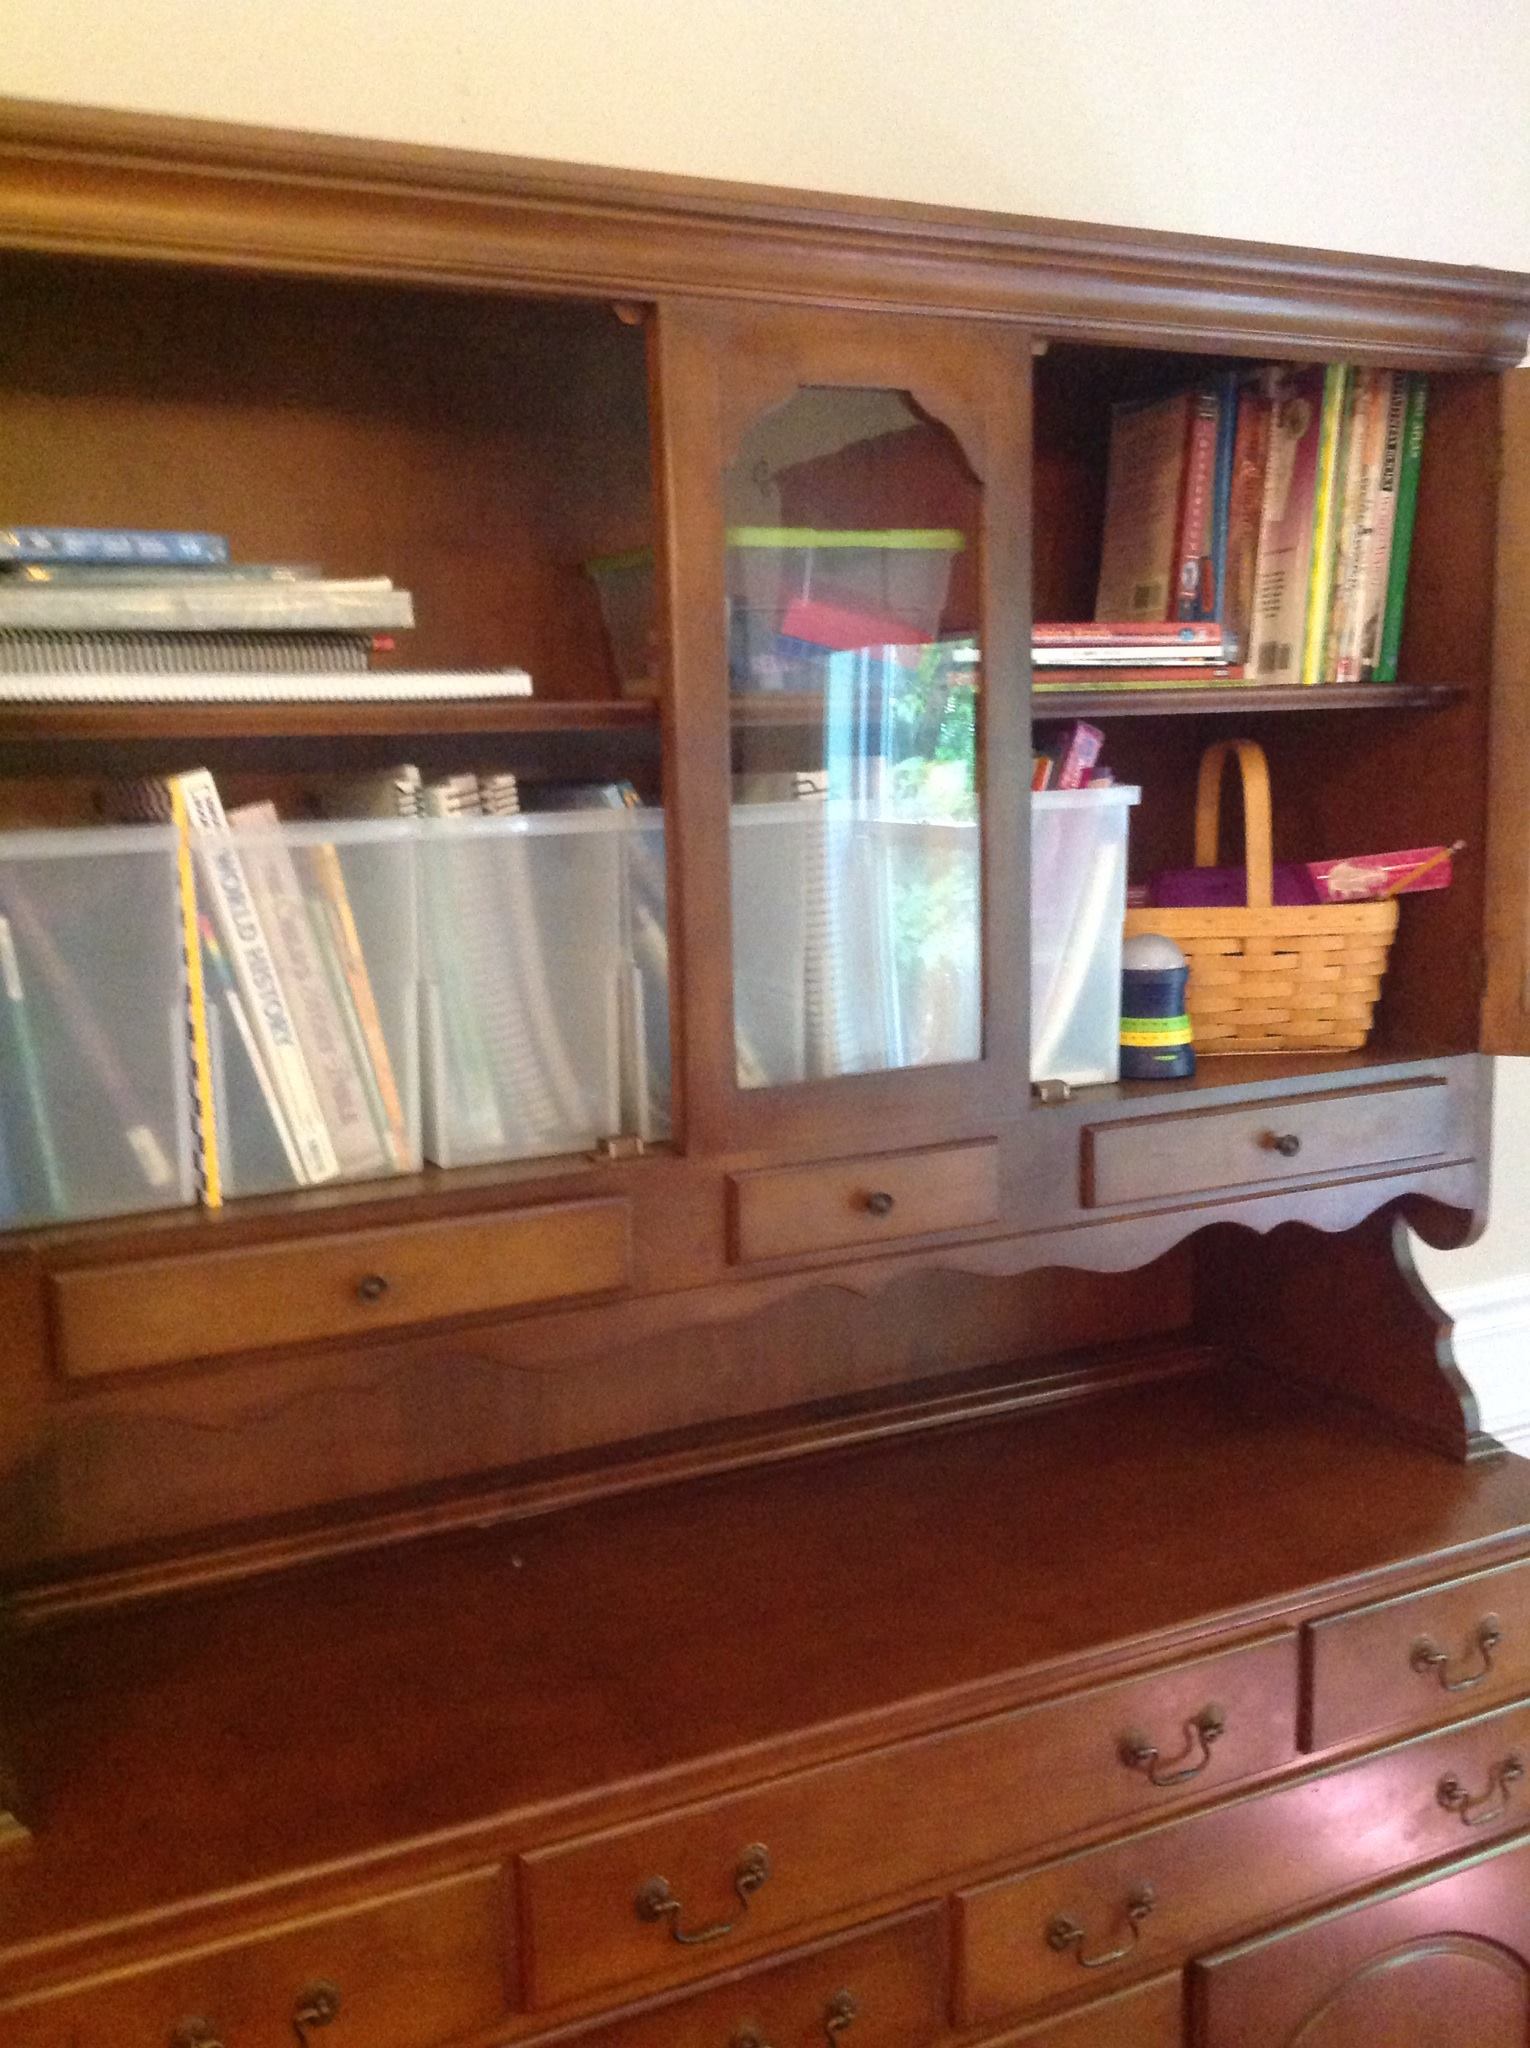
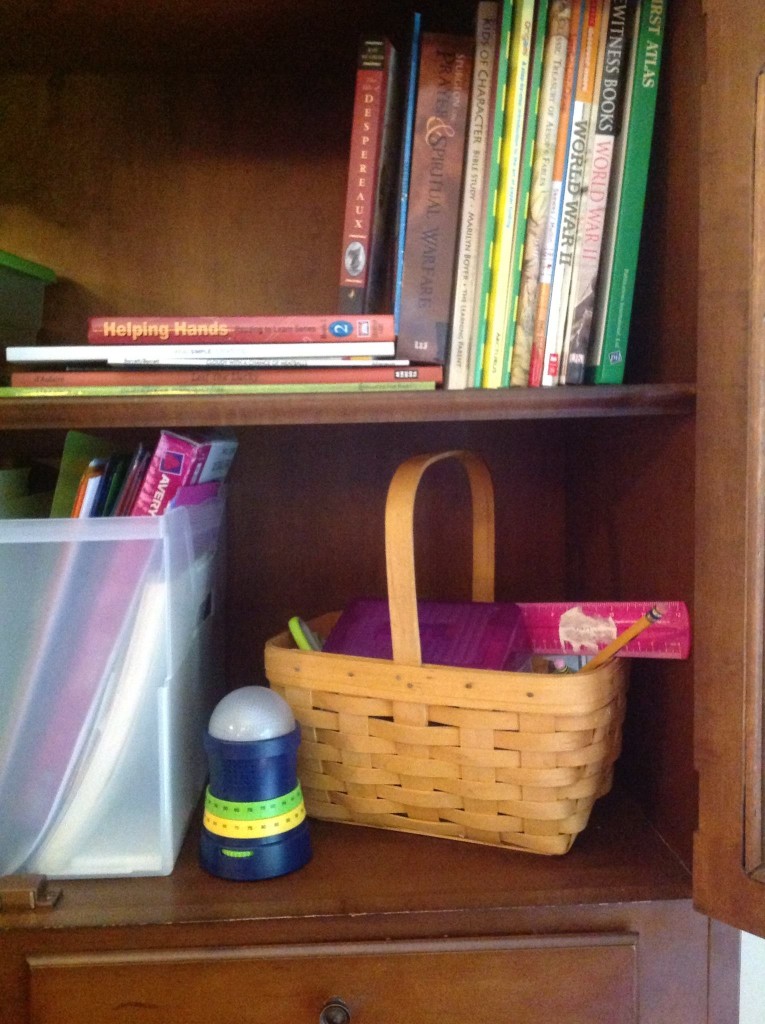
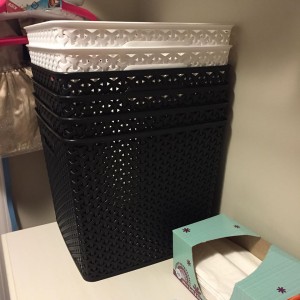
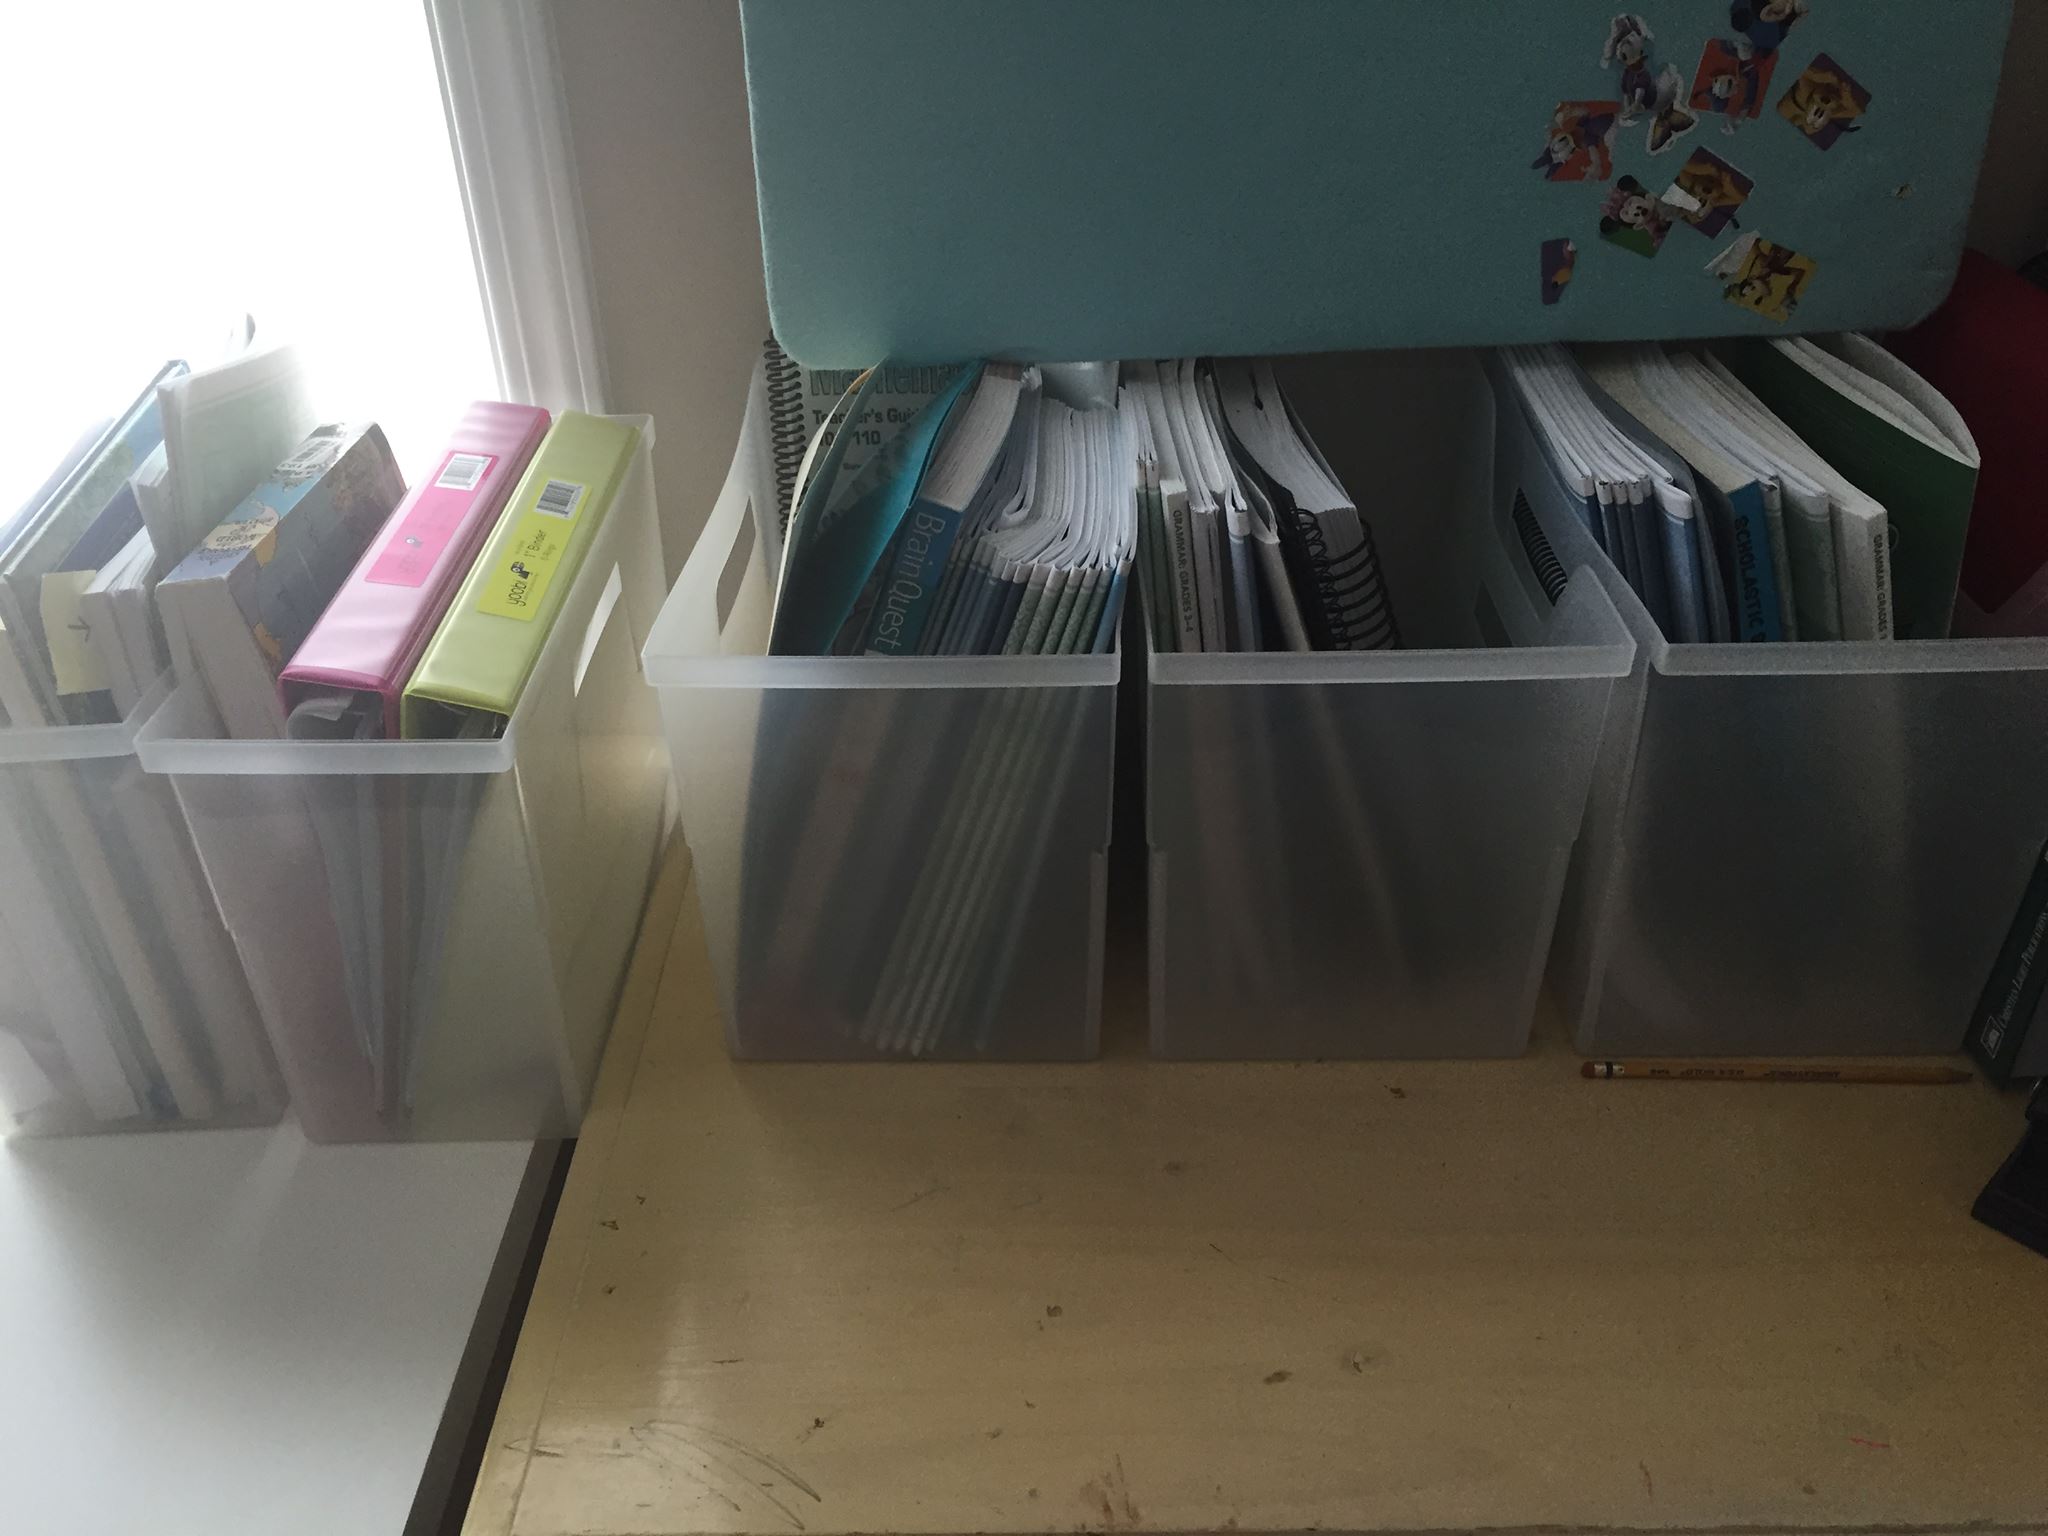
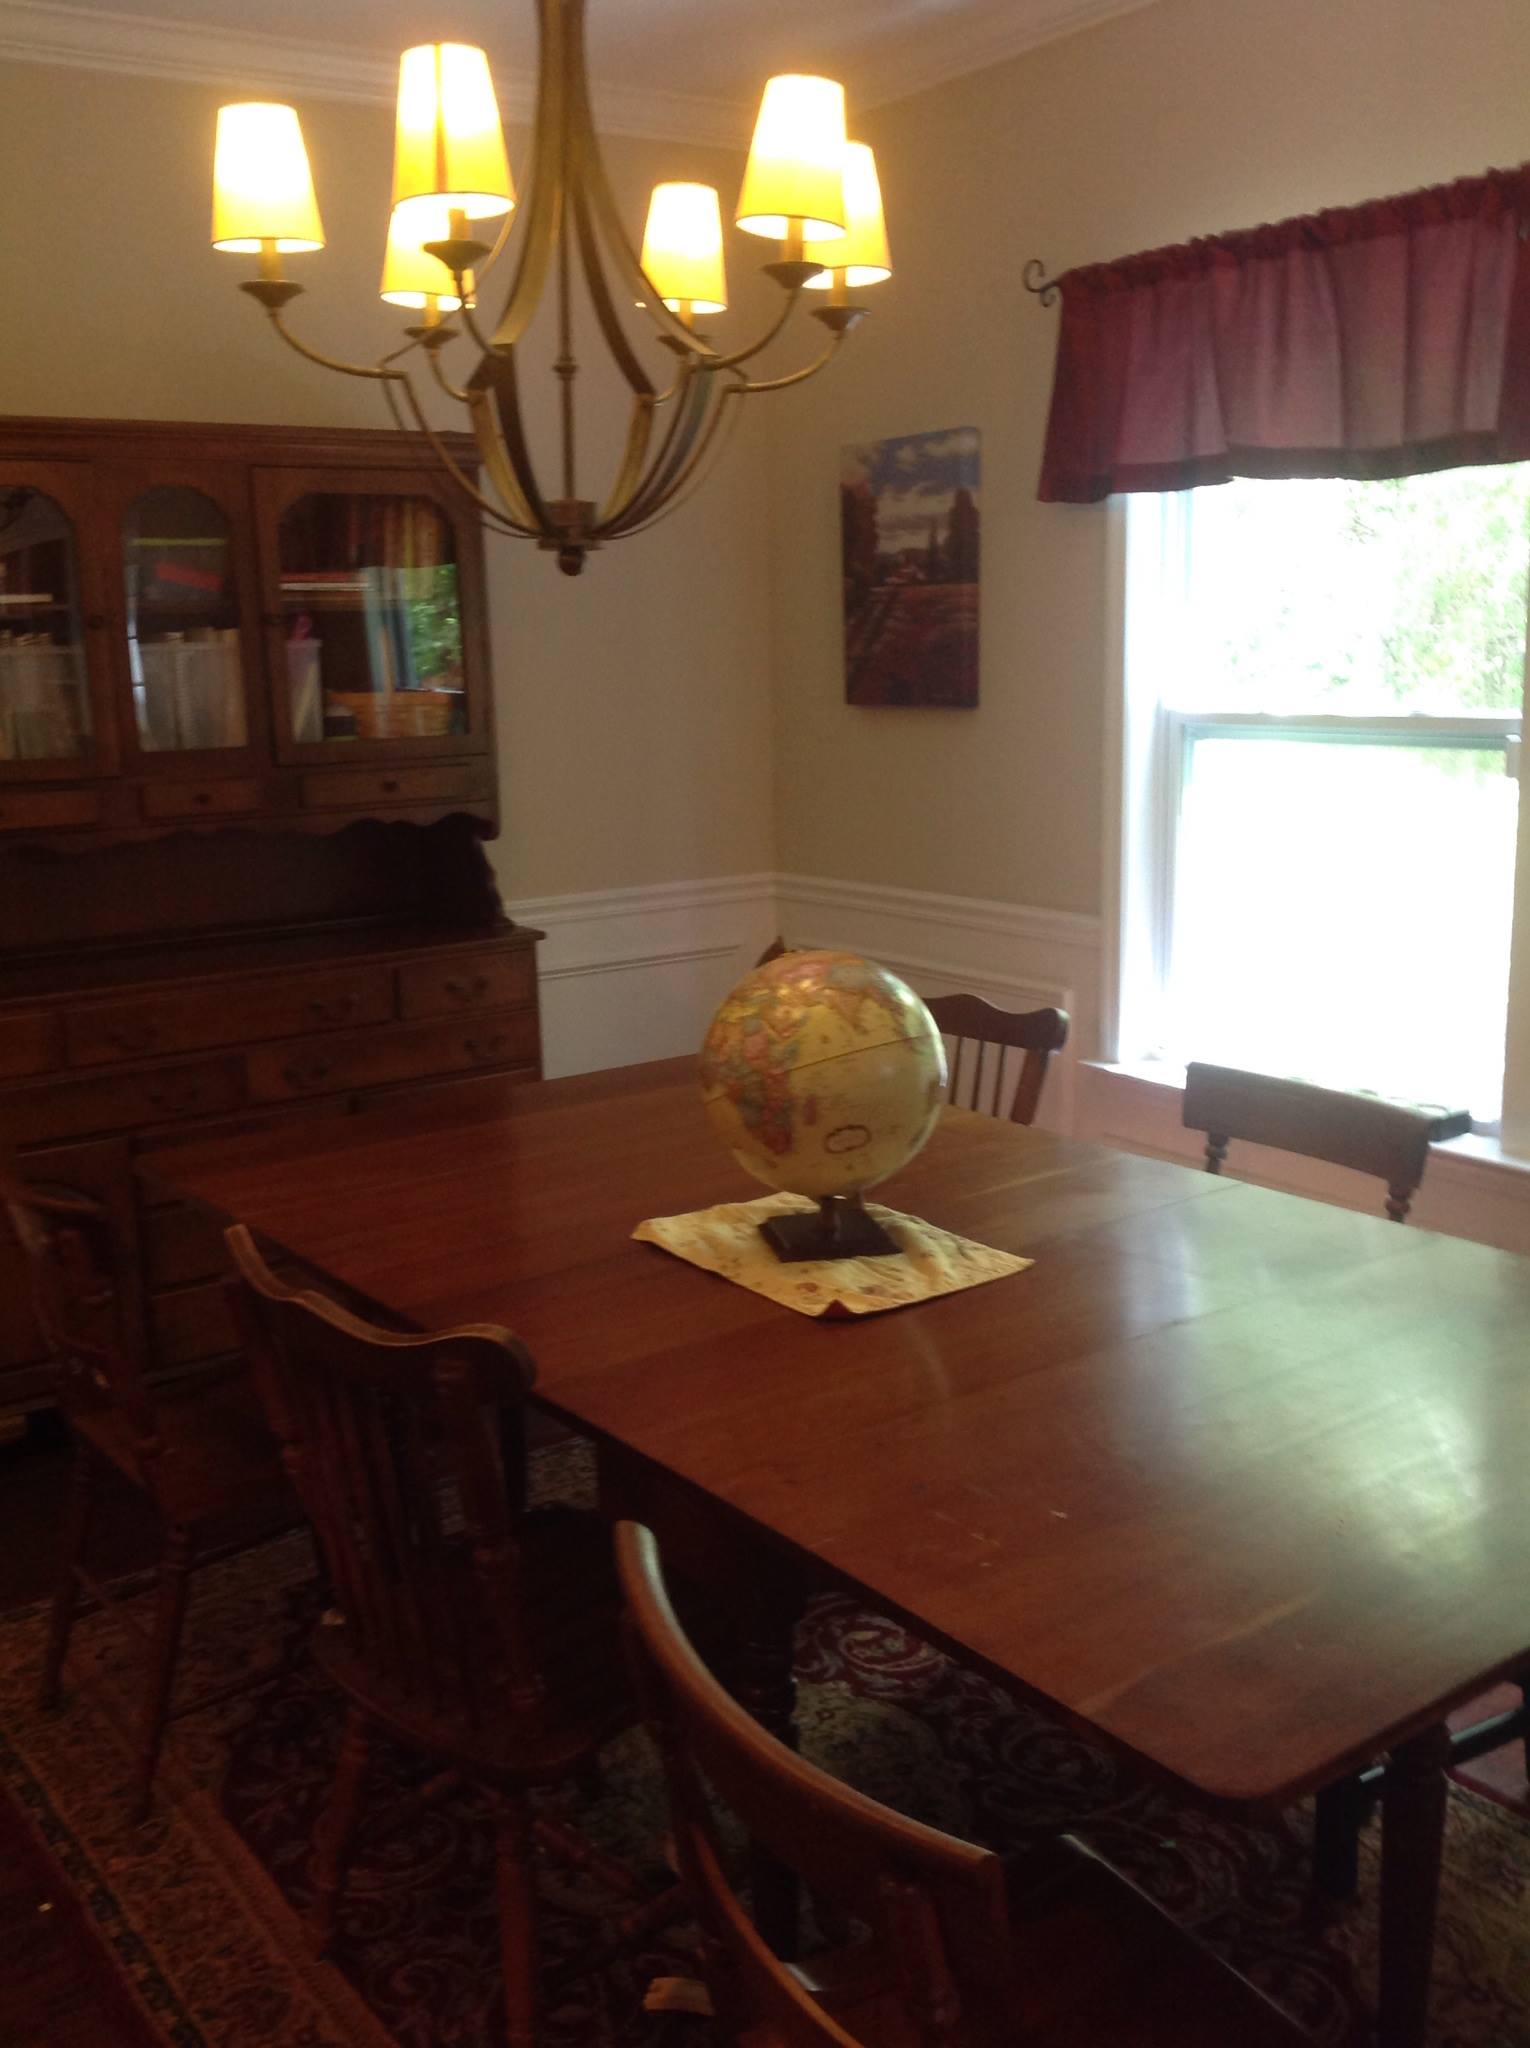
I also filled the other file bins… one with books I will use soon with the curriculum, one with my 10 year old’s spelling notebook and spelling cards, one with their math and language arts workbooks and the teacher books for each grade level.  Another bin was left empty and I put books in there as I’m done reading them.  I absolutely love these file folder bins and it has helped so much with keeping me organized and sane!


Where do we store our books?

I use my china cabinet in my dining room (where I was doing a lot of schoolwork in the later days of pregnancy) to house these bins.  Each of the bins resides on the shelf, along with a basket of pencils, scissors and glue.  I have a drawer that is full of construction paper, for crafts, and most of my board games as well.


heart of dakota preparing

Overall, I’ve been very pleased with Heart of Dakota Preparing Hearts for His Glory.  I absolutely love that it is an overview of world history.  It has a strong biblical emphasis.  It incorporates vocabulary, art, poetry, Bible, history, literature, writing, spelling, language arts, math, and science all into one awesome curriculum with ZERO prep work for mom.  For my son with dyslexia, we’ve seen vast improvements in him this year.  I do not make him read all of the “do it yourself” parts – I allow him to read smaller segments and then I read aloud the rest (this includes part of independent history and the science section).  I do allow him to do most of the writing – aside from the cursive copywork.  We either do smaller segments in printing or skip that all together because those are longer passages that frustrated him in the beginning.  However, allowing him to gradually do more and more independently has really boosted his self-confidence over this school year.heart of dakota preparing


I love that the kids are actually retaining what we are learning in history, this year!  The passages that are selected are interesting and engaging for the both kids.  I have found there is just enough of Greek and Roman mythology that they get a good grasp on what the thinking of those days was without being too heavy on it.  We are all enjoying Grandpa’s Box and A Child’s History.  Great literature selections and fun crafts and art projects are also included!  What curriculum do you use?  Have you tried Heart of Dakota Preparing?  Leave a comment below!


Want to read more about our use of Heart of Dakota?

HOD Preparing Unit 14

HOD Preparing Unit 15

Heart of Dakota Preparing Unit 16

Heart of Dakota Preparing Unit 17

Heart of Dakota Unit 21

I was not compensated in any way for this review.  I bought this curriculum myself along with all the books that go along with it. 

Filed Under: Curriculum Reviews, Dyslexia, Homeschooling, Uncategorized Sasha

07/09/2015

Drawing For Kids Made Easy {7 Steps to Get Your Child Drawing}

Drawing For Kids Made Easy

Do you want to encourage your child to be an artist?  I have found that there are some easy ways to facilitate their aptitude for drawing.  My 10-year-old loves art.  He loves drawing pictures, especially animals.   He has recently also gotten into sketching still life images as well.  I want to share with you some easy steps to encourage your child to fall in love with creating and art.

(In the spirit of full disclosure, this post does contain affiliate links, which means that I may get commissions if you decide to purchase anything from the following links. I only recommend products that I use and love myself!)

drawing for kids

7 Easy Steps to Get Your Child Drawing


Here is what we’ve done with our own children to get them to be more proficient artists:


1. Give them their very own spiral bound sketchbook.  Let them carry this sketchbook wherever they go.  You never know when the mood will strike to capture what they are seeing into their very own artwork.

You might want to consider a separate book for your child to use for when they want to make final copies of their drawings.  For finished work, a nice quality Drawing Pad also will come in handy.

drawing for kids

2.  Get them outside in nature.  Take a nature walk and allow the children to look up close to the wonders of nature.  Explore twigs and tree branches.  Gaze at the tiny ladybug or the minute ant.  See how the sun saturates a tree leaf.  Explore the world around you.  Maybe plan this for a once a week outing … or allow the kids to explore their own backyard.

drawing for kids

3.  Buy nice quality pencils.  Here is the one we have started out with: Pro-Art 36 piece Artist Pencil Set.  This set includes 12 watercolor colored pencils and 12 regular colored pencils along with 4 woodless graphite and 8 regular graphite with a variety of hard and soft pencils.  If you are not looking for colored pencils and want to stick with black and white drawings, this kit is very reasonably priced and perfect for a beginner.  I wouldn’t spend a lot on pencils at first but definitely, make sure you get a number of different types of lead.  There are many of these types of kits to choose from both online and in art-supply stores.  Whichever one you choose, make sure you get a kit that includes some combination of lead such as H, HB, 2B, 6B, and 8B.  This will allow for shading and sketching.  Let them start out with graphite pencils then move onto graphite sticks – later you may want to purchase charcoal pencils, sticks, and vine charcoal.  This set is a good starter set for charcoal: Charcoal Tin

drawing for kids

4. Encourage them to sketch what they see and really look at what they are drawing.  Study it.  Where do the shadows fall?  How dark and light is each part of the object they are drawing?

I suggest starting out lightly sketching with an H or 2H pencil and then slowly building up to the darker shades as they try to fill in shadows.  I don’t worry too much about technique in the early stages.  They may choose to use smudging or horizontal lines to fill in space – or they may prefer cross-hatch.  Let them experiment with different ways to fill in shadows.  Focus more in the early days of just getting the object on paper – train your eye (and your child’s) to notice the details of what you see…  from prints to shadows and then eventually working into perspective.

drawing for kids

5.  Buy them artist erasers – both white erasers and kneaded erasers  This kit is a good price and includes three different types of erasers: Design Art Erasers.  Kneaded erasers are good for blending and smudging, white erasers are especially good for highlights.  I tend to not use gum erasers currently with my children but they are good for large areas that need to be erased and they will not damage your paper.
drawing for kids


6.  If you aren’t an artist – purchase a book or two on drawing Drawing Lab and Drawing for the Absolute Beginner are good choices.  The Drawing Lab book has fun ideas for projects if your child needs help thinking of ideas or wants to do something different than sketching items from around the house.  Drawing for the Absolute Beginner is good for teaching drawing technique. This is especially helpful if you don’t have a drawing or art background.drawing for kids


7.  Let them study objects in real life – up close.  After they have done that, it doesn’t hurt to buy a good book where they can study animals  – especially animals that they don’t see in everyday life.  We have enjoyed this one: The Illustrated Atlas of Wildlife.  My son really loves this book and even packs it on long trips so that he’ll have something to draw.


drawing for kids


If you give your child opportunities to draw, this Summer, they will!  Let them explore the world around them as they put to paper what their eye can see.


You might also like:

Create an Art Center in Your Home

ARTistic Pursuits Middle School Book One {REVIEW}

Mess Free Art Afternoons {Kwik Stix Review}


Filed Under: Arts & Crafts, Homeschooling, Uncategorized Sasha

07/03/2015

The Most Important Thing You Need to Know About Going Past 40 Weeks

I got up from the hospital bed, and waddled over to the bathroom, anxiously waiting to feel the tightening, the gripping of my belly again. It was then, while I glanced from the clock back to my belly that I noticed the color that was soaking the pad between my legs.  I froze, shocked, the tingling of panic washing over my face.  “I need the nurse!” Calling out to my husband, I was powerless to move.  In that instant the 41 weeks that I had carried this tiny, sweet, little innocent life flashed before me and I knew she needed to be born.

Reasons to Not Induce

For most of my adult life, I’ve had one foot stuck in the “natural living” pond.  It started with cloth diapering and breastfeeding and the more I read, the more I found myself going over to that side of things.


From the food we eat to how we take care of our babies, it became clear that attachment parenting and natural living was what I identified with.  Because of this, the one thing I didn’t want to be ok with was inducing labor.  It just didn’t feel right to me.


Labor should be a natural process and we should let it be a natural process.  There are so many reasons why we shouldn’t induce.  Starting with the health of the mother (over stimulating the uterus) to the health of the baby (too much pitocin can cause fetal distress) – induction just felt wrong.

induce labor

Reasons to Induce

There are plenty of reasons to not induce labor.  There came a point, however, that I realized that sometimes, there are reasons to induce.  Sometimes, you have no choice.  Sometimes, induction is the only right choice.


Some of the reasons to induce include health problems in the mom.  Sometimes moms develop pre-eclampsia.  Sometimes babies have growth problems.  There are reasons why people choose induction.


What if everything is fine?  What if the mom is healthy but what if the baby hasn’t come yet?  One of the more controversial reasons to induce labor (in the natural living community) is a pregnancy going past 40 weeks.


The Problem with Due Dates

I realize that due dates are estimated dates of delivery.  They are not a guarantee that the baby will be born exactly at  40 weeks.  In fact, it is pretty unlikely your baby will be born on their due date.


I’ve seen statistics that say anywhere from 3.3% to 5% of women give birth on their due date.  Nevertheless, there is no guarantee that your baby will come on their anticipated day.


So what happens when you go not just a day or two over – but an entire week over?  How long is too long?  Should you wait the full 42 weeks before doing anything?  Should you not give a deadline at all?

I’ve heard it said many times that “they’ll come when they are ready”.  According to this article on aafp.org, “approximately 5-10 percent of pregnancies are post term.”  Post term pregnancy is one that reaches 42 weeks.  There is a risk with a post term pregnancy of “post maturity syndrome”.


It is not often talked about but it does happen to some infants.  This is where the placenta stops functioning at its best and the infant is denied enough nourishment and for some, oxygen.


In this case the baby actually loses weight and can suffer other complications.  Some of the signs of this problem are long finger nails and dry skin which may also be lose and peeling.  The child may suffer from hypoglycemia at birth.


They may also have meconium passing before birth, which can cause lung problems if inhaled prior to or at delivery.

The Trouble with Post Dates Pregnancy

It dawned on me during our last pregnancy that most pregnant women accept that there is a great risk in delivering too early.  A premature baby can suffer greatly and there is great risk to the life of the child the further away from the due date we get.

induce labor

However, in our society there is such a movement to go the other way with pregnancies that last beyond the typical 40 weeks.  This culture that wants so much to avoid unnecessary intervention that we often fail to realize the risk we allow to our own children.

Antepartum stillbirths account for more perinatal deaths than either complications of prematurity or sudden infant death syndrome. Perinatal mortality (defined as stillbirths plus early neonatal deaths) at 42 weeks of gestation is twice that at 40 weeks (4-7 vs 2-3 per 1,000 deliveries, respectively) and increases 4-fold at 43 weeks and 5- to 7-fold at 44 weeks. These data also demonstrate that, when calculated per 1000 ongoing pregnancies, fetal and neonatal mortality rates increase sharply after 40 weeks. Source


This alone made me realize that what my own midwife told me I needed to trust. 10 days before my baby was born, she sat me down and told me the facts.  She knew I didn’t want to be induced.  She reassured me of my choices. She added that 41 weeks was as long as she was comfortable with waiting. I begrudgingly agreed.


The dangers that can happen when you go a week past your due date are not new to me.  Memories from my first pregnancy flood back: the fear of fetal distress.  Meconium staining.  Lowered heart rates.  How quickly things can change.  And in a blink there are 15 nurses in a room and one very frightened doctor.  I vowed that if it came to it,  if I made it to 41 weeks I would heed her warning and deliver.  I would choose to induce labor at 41 weeks.  I’m so thankful I did.  


My Little Mouse was born covered in green meconium, from head to toe.  I cried as I held her tiny, precious body.  As she lay on my chest, I felt a rise of joy and relief as I gazed down at her beautiful face.  My midwife calmly and quickly spoke. They would need to suction her out with the NICU nurse across the room.  Thankfully, they were able to rid her of all traces of that green nightmare.  I held her and cuddled her and nursed her to sleep in wee hours of that early Winter morning.


What now?

I don’t share this personal story to make you fearful.  I tell it to you to let you make a wise decision.  So, where does that leave us?  Are we forced to induce strapped to a bed being monitored for hours?  Will it end in a c-section?  Will we have the birth we desire?  Find out the questions you need to ask and more about how doctors and midwives induce labor in our next post: Common Induction Methods & Questions to Ask Your Doctor.


Just a reminder – don’t forget to download your free printable labor bag checklist.  Just click the button below!  Enjoy. 🙂

Printable Labor Bag Checklist

Filed Under: Large Families, Pregnancy, Uncategorized Sasha

06/29/2015

Cleanups & More for the Large Family {large family cleaning schedule & family closet}

Cleaning Schedules & Routines for your Large Family

large family cleaning schedule

I have found that half the battle with getting and staying organized is creating a routine.  So today, I present to you a new routine for keeping your homeschooling, large family on track and ready to face a new day – every day.


I was a kid who loved school.  I especially loved high school and college.  What I think I miss most about those school days is the routine.  I knew which classes I would go to on certain days.  When the bell rang, we all got up and left, moving on to our next place to be.  It dawned on me recently that this was what was missing from our current family structure.  A true unwavering routine.


I decided that to make this work, I would have to stick to the rule that whatever was penciled into my calendar I would do my best to do.  Obviously, with so many little ones under the age of 5 – this is hard work.  This was going to have to be something that I would try to do to the best of my ability.  If there is a child who needs something, I need to be there for them.  This routine is a guide but it is a guide that I will try to accomplish so that we can squeeze the most out of the hours in our day.  I created my schedule in 30 minute and 1 hour increments.


Before I present my new schedule, first, some ground rules:


1. Don’t start too much at once. Give yourself at least a week of sticking with one new habit before beginning a new one.  It takes at least a week – sometimes two or three for a new habit to really set in.  It is delicate in it’s early days.  It needs time to be nourished. It needs time to grow into a true routine.  Don’t squash it before it is ready to stick.  This goes for the whole family – kids and grown-ups alike.  Give yourself time to settle into the new routine.


2. Start your day with a plan.  Be specific.  Don’t just make a to-do list but a guide to when you will be able to do each item.  I make a plan over the weekend for the new week.  I’m not really a schedule person but I do need a routine to at least keep myself going.

large family cleaning schedule

I love my calendar/organizer. I pencil in everything from doctors appointments and field trips to my daily routine in this book.


3. Write it down.  Somewhere.  Somewhere that you’ll actually read it and keep reading it.  I made my wall chart for this precise reason.  I also have my schedule written down in my organizer journal.  I need reminders. Weekly. Daily. By the minute.  I seriously get distracted without my reminders.


I wrote HERE about how to keep an organized kitchen.  If you haven’t started that yet, please don’t try to do that plus this … because it would be too much for most large family cleaning schedulepeople to do 2-3 new routines at once.  Give yourself a break and start with one thing first.


Laundry:  I’ve tried different laundry routines and schedules.  This one seems to be the easiest I’ve come across.  This leaves me doing laundry 4 days out of the week.  The extra day (I do not like doing laundry on the weekend unless necessary) of the week is left for odds and ends – blankets from the living room, kitchen towels, etc.

On the day which is assigned to each room, I also make it a priority to vacuum that room and straighten up/wipe down the bathroom that is attached or next to that room.  This makes taking care of the house much more manageable and leaves me with much shorter tasks to take care of.


large family cleaning schedule

On the left each child has a dresser, on the right hanging clothes and storage.

large family cleaning schedule

Our laundry bins for cleaning laundry sorting.

We do use a “Family Closet” System.  We’ve been using this for close to four years.  I have taken my large walk-in closet in the master bedroom (located next to our laundry room) and created a closet that houses the children’s clothes as well as my own.   My husband has a closet directly across from this one so all the clothes are put away in the same area.  This really helps keep us organized.  It also is easy to fold and put away laundry when it all goes into the same space.  Each child has certain drawers which are for their clothes. They also use baskets to hold extra accessories on top of the dressers.  I’ve assigned a hanger color to each child so they know where to hang their dressy clothes, as well.  About a year ago we decided to label the drawers with foam stickers to help our son who has special needs.  This gives him a visual reminder of whose clothes are in each drawer. large family cleaning schedule  large family cleaning schedule


I also assign each day a “function”.  On Monday, I have a desk day.  I make it my priority to sit for one hour at my desk and pay bills, make a menu and shopping list, write letters, write thank you notes, and deal with any paper clutter or mail that is accumulating.  I also give myself time to make phone calls to doctors, insurance, and other places of business.  This happens during quiet time/nap time.  On Wednesday I have a deeper cleaning day.  I make sure to mop, dust and vacuum any rooms which were not assigned a vacuum day.  Friday is my kitchen day.  I’m starting to teach our 8 year old how to bake, so we will be baking some goodies on Fridays.  We also have set aside time to do a quick refrigerator clean out and wipe down.  A thorough sink and counter cleaning is also on the list for Friday.


large family cleaning schedule


Lastly, we do a quick clean up from 4:00-5 every night.  It usually will not take an hour.  Usually 15 minutes.  I’ve set aside that much time just in case there is a larger mess than usual.  This is a quick tidy that all the kids and I participate in.  During this time I also get dinner going, if I haven’t started it yet.  It is nice for my husband to have a clean house to come home to and for us to all have an enjoyable evening together.

Also, my son who has special needs and autism really appreciates a routine and a schedule.  He really likes to know what is coming next.  He loves to know when the next meal will be and what it is.  He longs to know exactly what is expected of him at any given moment.  He is constantly planning and preparing for what is the next thing we are going to do.  I have found that having a stronger guide and schedule for me has really helped him as well.

In summary, each morning and evening consists of a few small tasks in the kitchen.  Each morning (right before breakfast) begins our laundry/cleaning routine which changes with each day.  In the afternoon I have one focus which only lasts for one hour.  I start dinner and have the kids and I do a quick cleanup from our day at 4pm.

I hope this gives you a sense of how we do our cleanups and laundry routines!  I also have a few free downloadable charts for laundry skills and chores by age group.  If you have toddlers or preschoolers, it is not too early to get them involved in helping out around the house.  Feel free to print those out.  Please leave a comment and let me how you handle cleaning in your busy home!

Filed Under: Family Life, Homemaking, Large Families, Printables, Printables, Uncategorized Sasha

« Previous Page
Next Page »

Primary Sidebar

Welcome

Hi There! I'm so glad you're here! I'm Sasha, wife to my best friend and mama to 7 kids. My passion is homemaking, homeschooling, and encouraging parents of kids with special needs. We are all on a journey. Find what you were made for with some hope and encouragement on the way. xo Sasha

Free Printables

homeschooling homemaking printables

Pinterest

Looking for something?

Footer

Archives

Looking for something?

Recent Posts

  • Gluten-Free Candy Cane Cookies
  • The Best Gluten-Free Chewy Gingerbread Cookies
  • My Pandemic Birth
  • Hope When There Is No Hope
  • When You Walk Through The Fire: An update on our Year (2019)

© 2015 Pretty Happy WordPress Theme · By: Pretty Darn Cute Design