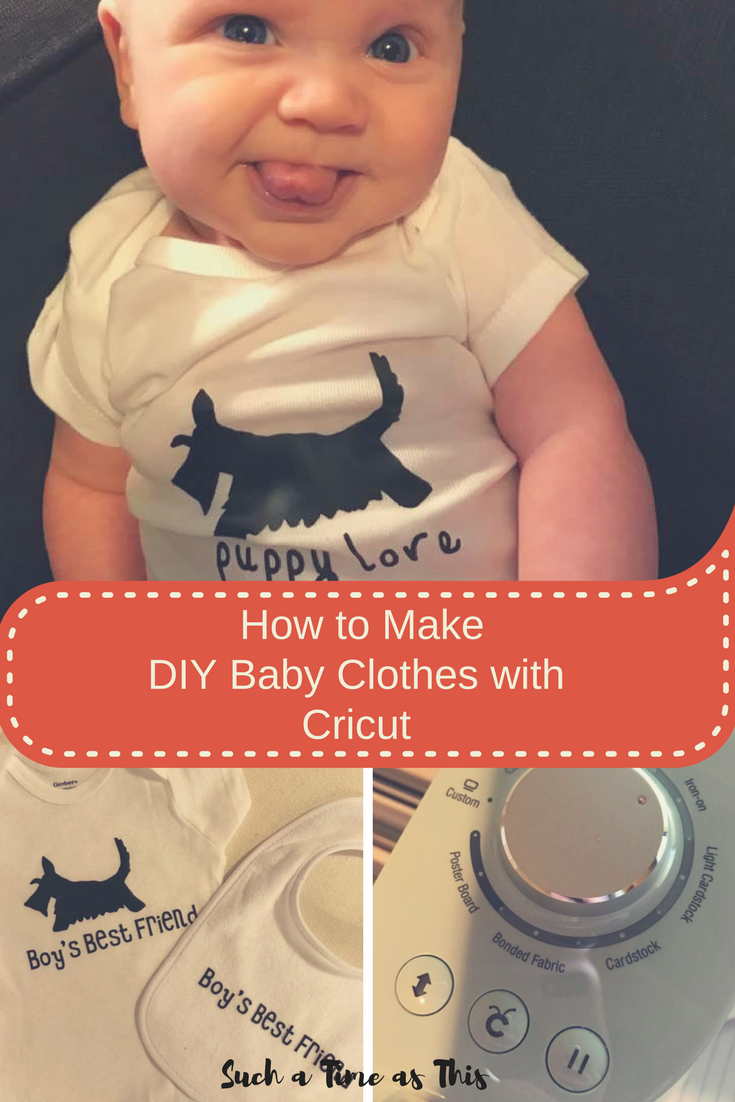
Cute DIY Baby Shirts and Bibs with Cricut Explore Air 2 {Tutorial}
So, if you’ve been following along with me the last few weeks, you’ve read all about what the Cricut Explore Air 2 can do. I even shared my last project: DIY Homemade Notecards.
(Contains affiliate links. See my disclosure policy.)
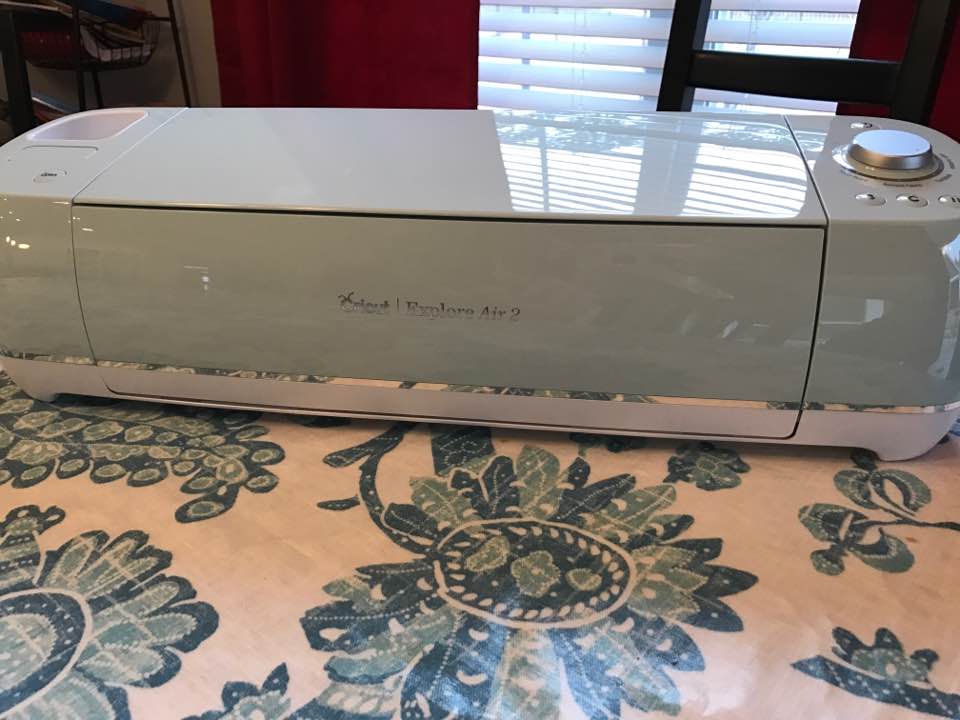
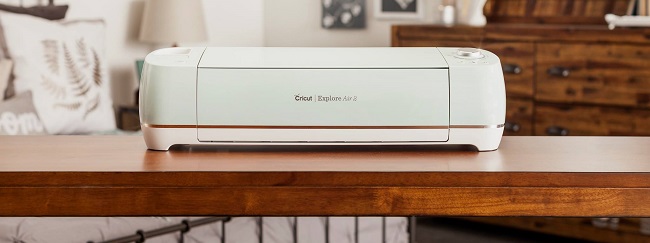
I love using the Cricut Explore Air 2 and I’m realizing just how crazy awesome this machine is. It can really do as much as you can imagine and create.
As I was playing around with it today, I realized how much I enjoy making projects that need some handwritten or drawn component. I love to draw, so this hobby is an awesome combo of drawing, graphic design, and making clothes for my kids (because I sometimes sew, too!)
Cute DIY Baby Shirts + Bibs
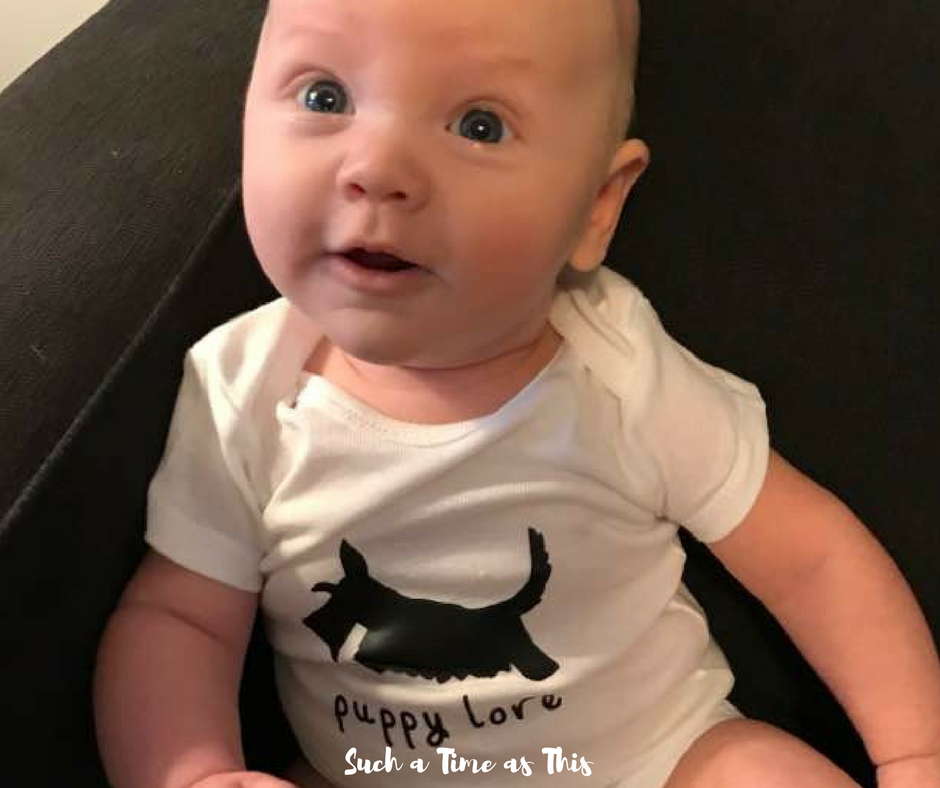
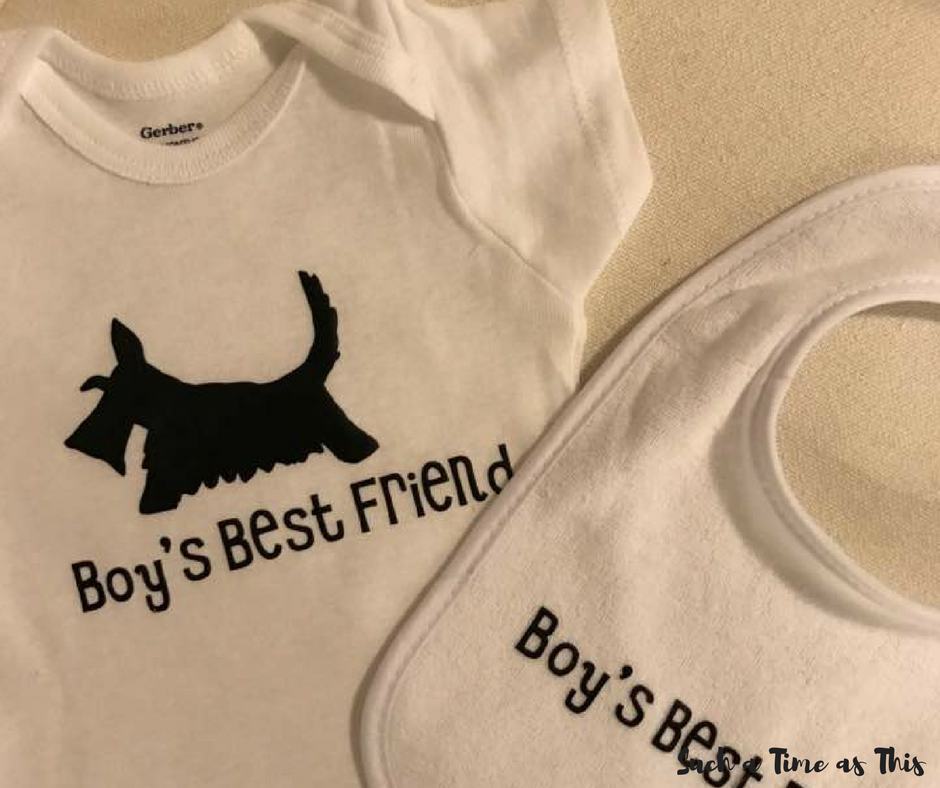
Today, I decided to try to make some customized shirts and bibs for Baby Pip.
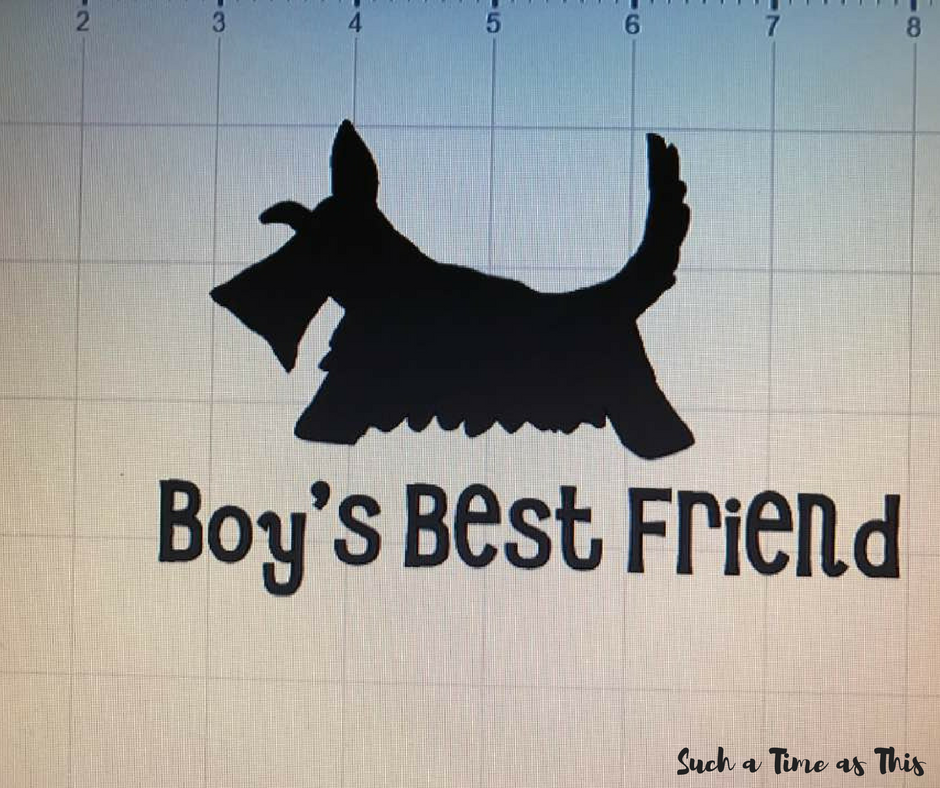
Scotties have been my absolute favorite breed of dog for a very long time, I decided to hand draw a Scottish Terrier on a piece of white paper.
Here are the step by step instructions to make a cute shirt and bib for your baby.
First take a picture of your drawing and loaded it to your computer. (Or you can use mine click here: Scotty Dog Best Friend or here: Scotty Puppy Love.)
After opening up Cricut Design Space, hit the “Upload Image” button if you are using your own picture.
Locate it and click on it. Now all you have to do is clean it up. Erase any stray lines from the back ground and save it as a “cut” project. Simple.
After the picture is loaded, you can add text with Cricut Access Fonts and then make sure to highlight your layers and weld and attach them together. This is a super simple process but one that I almost missed my first time around. This allows your image to print exactly as it is laid out.
Ok … so now you have your image and text. You are ready to cut out your images. Simply take your Cricut Iron-on Paper in the color of your choosing (I used black) and place it liner down on your Cricut mat. (Hint: The liner is the clear glossy side.)
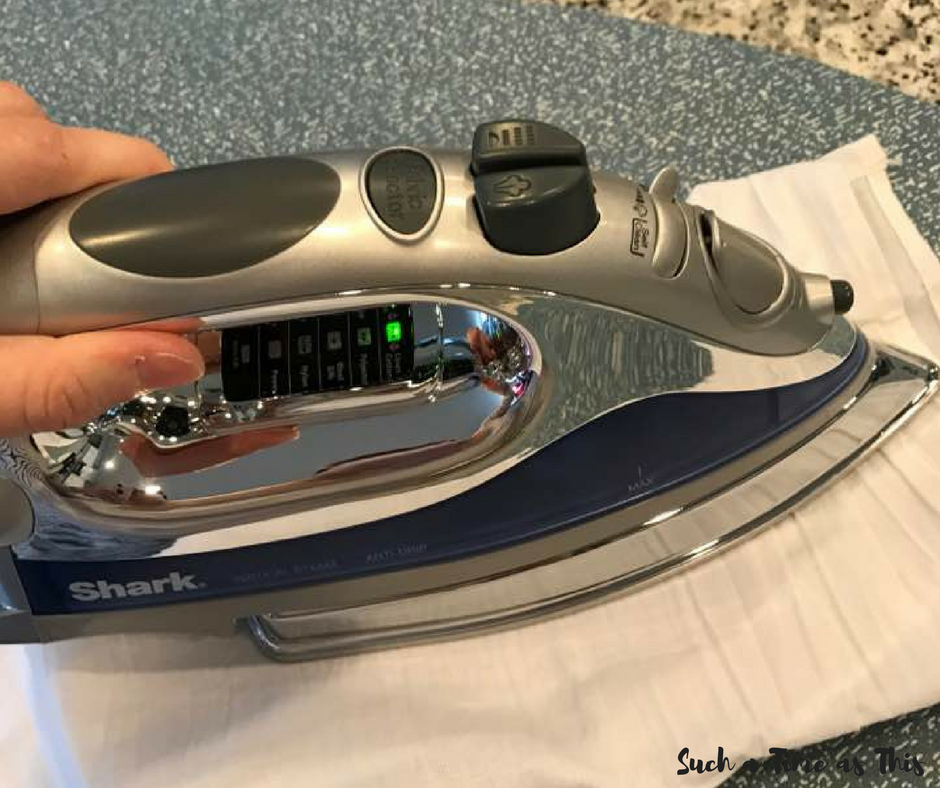
Set your machine dial to “iron-on”.
The awesome thing about Cricut is that it will cut through the Iron-on but not pierce through the clear liner.
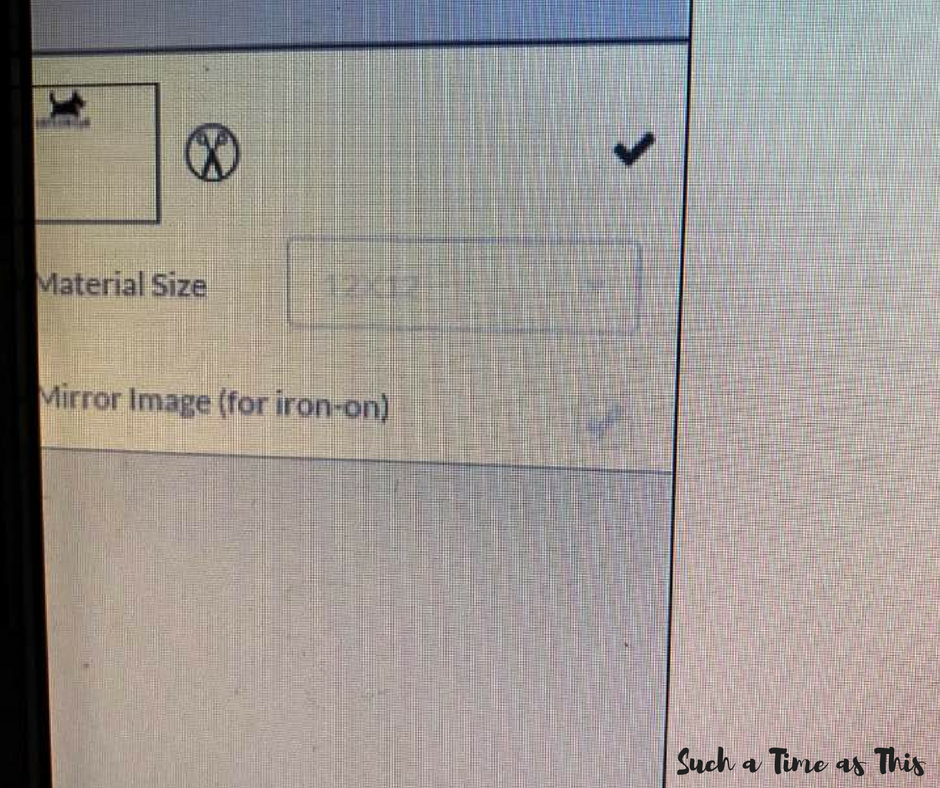
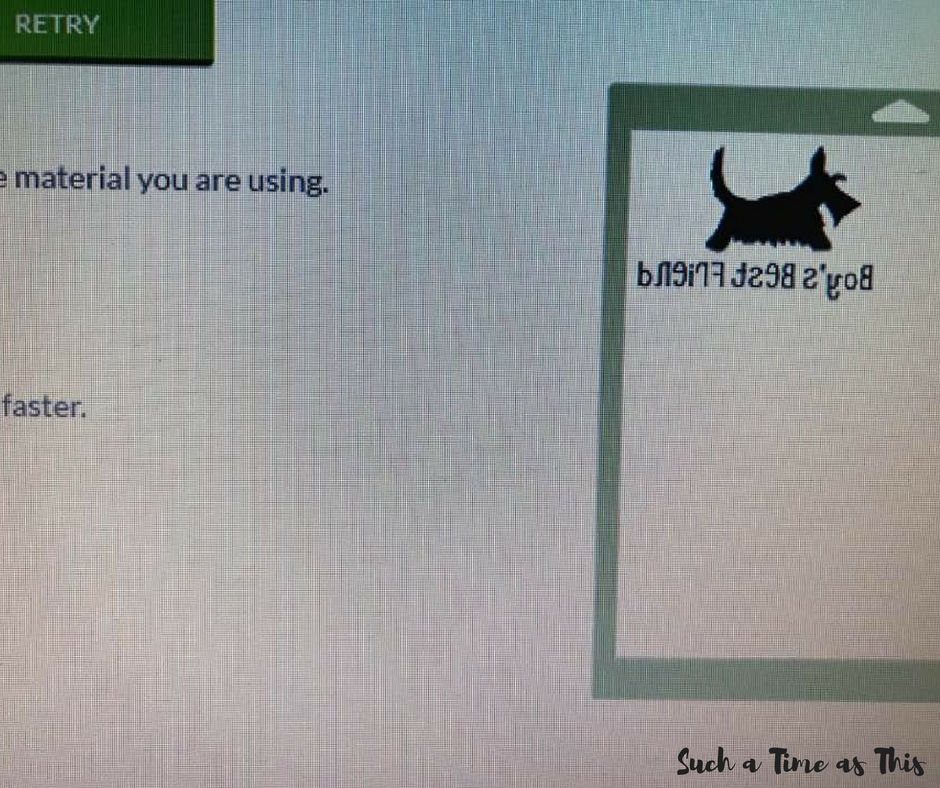
IMPORTANT: When looking at the screen, don’t forget to click the mirror-image button. If you don’t do this step, your words will be backwards once you iron it on your fabric.
Follow the steps on the screen. It will tell you to push the insert button and then the “go” button. The button you are to push will flash on your Cricut Explore Air 2. This is a totally awesome feature. They really take the guess work out of it.
It only takes about a minute to make the cut.
Next you will need your weeder tool. That’s the one that looks like it has a sharp hook metal end. Use that to remove the negative area. (Like the insides of letters). You can also use your scissors to cut around the edge of your image – only leave a small border so you don’t cut too close.
Finally, you are ready to finish your project. With your iron set to the highest setting (cotton/linen setting), first, iron the part of the fabric you will be using (this step is BEFORE you place your image on the fabric.) Note: Do NOT use steam.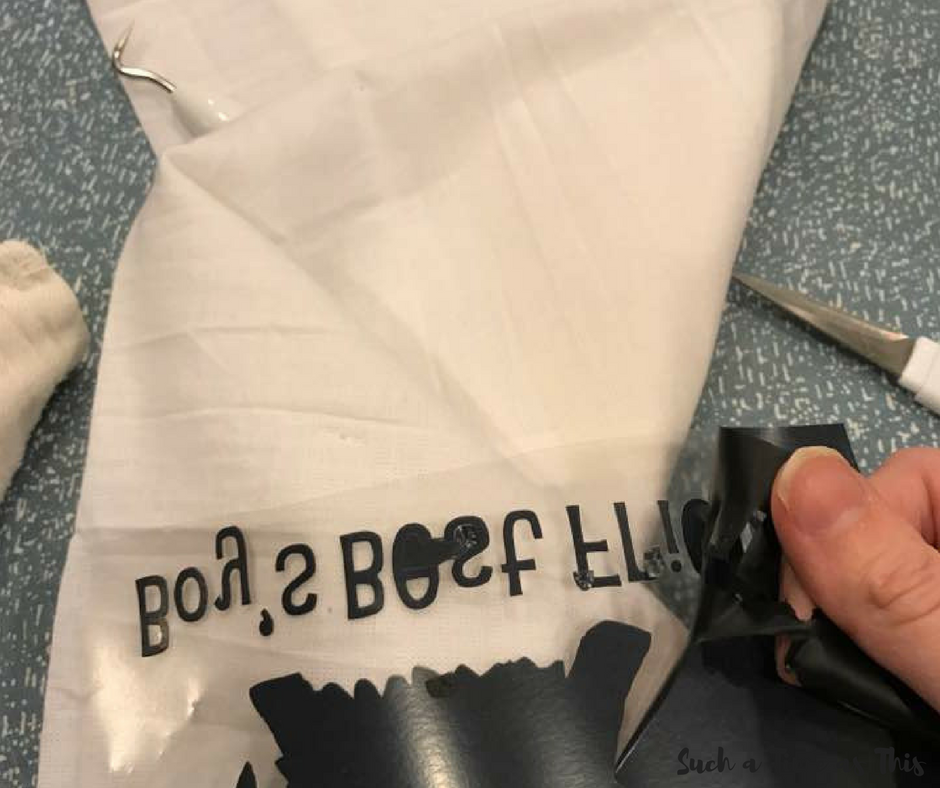
Take your image and place it down so the glossy liner is facing up. You will be able to see through it and it will look exactly like it will once it is ironed on.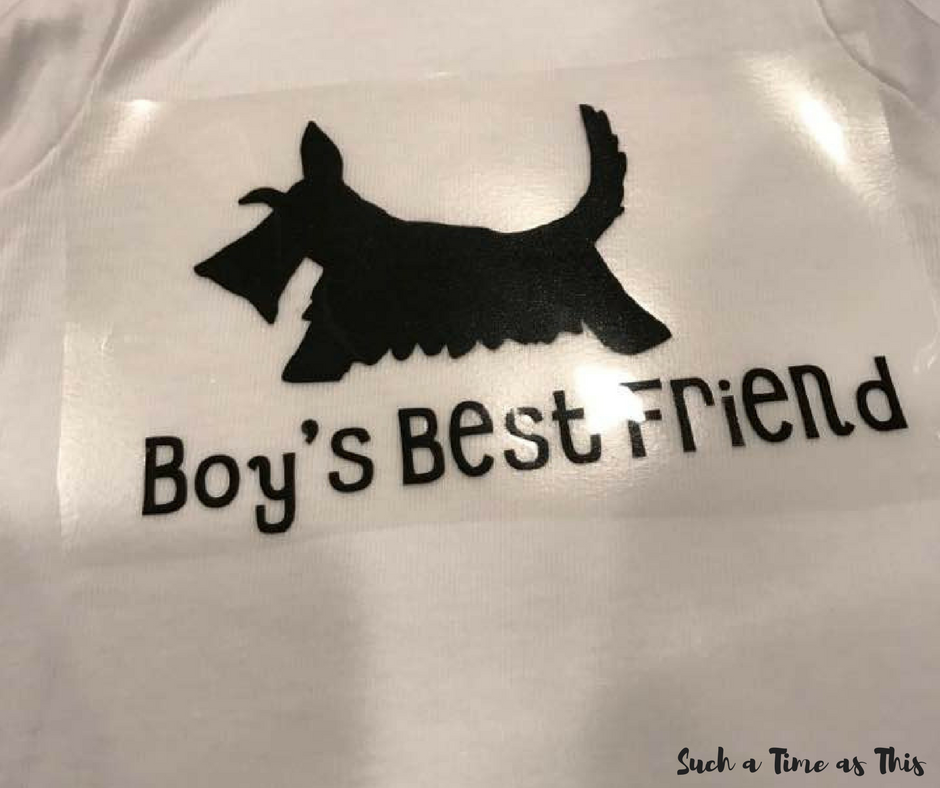
Next, take a towel or piece of fabric and put it between your image and your iron. With your iron on the highest setting iron for about 30 seconds. Now flip the fabric over (be careful to keep your image where it is on the fabric). Now iron again the backside of your fabric.
Let it cool for about 5 minutes. Gently peel away the liner. If it seems to get caught, you will need to iron for a few more seconds. Finally, you need to let it cool again and then peel.
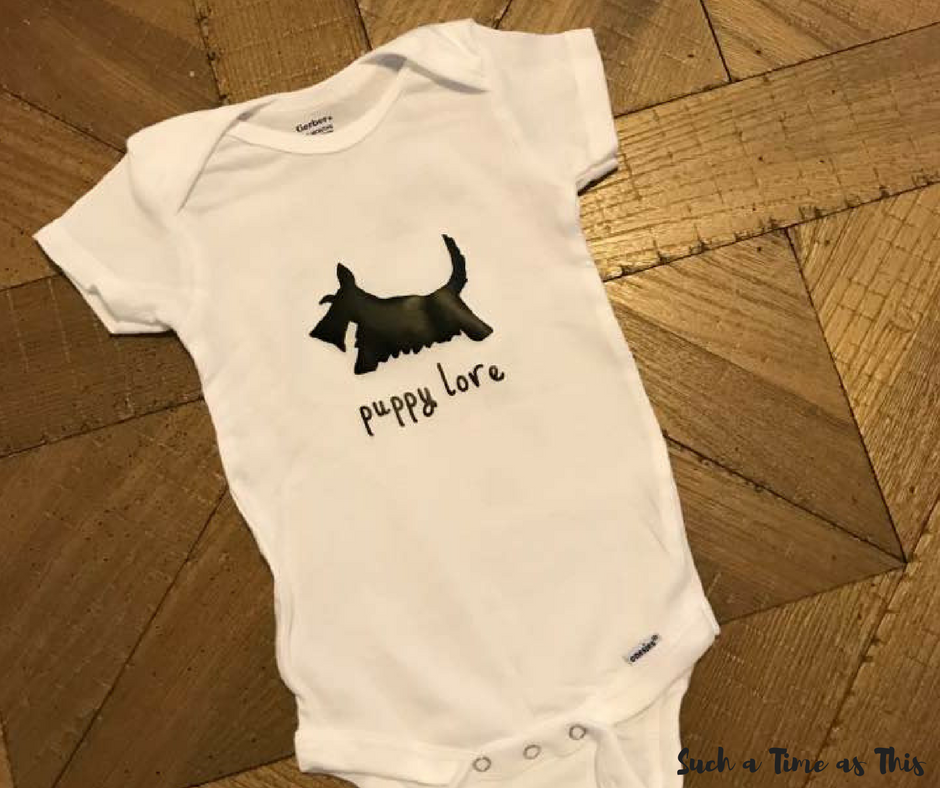
Ta-Da! You did it! You just made some cute customized baby shirts & bibs for your sweet little one.
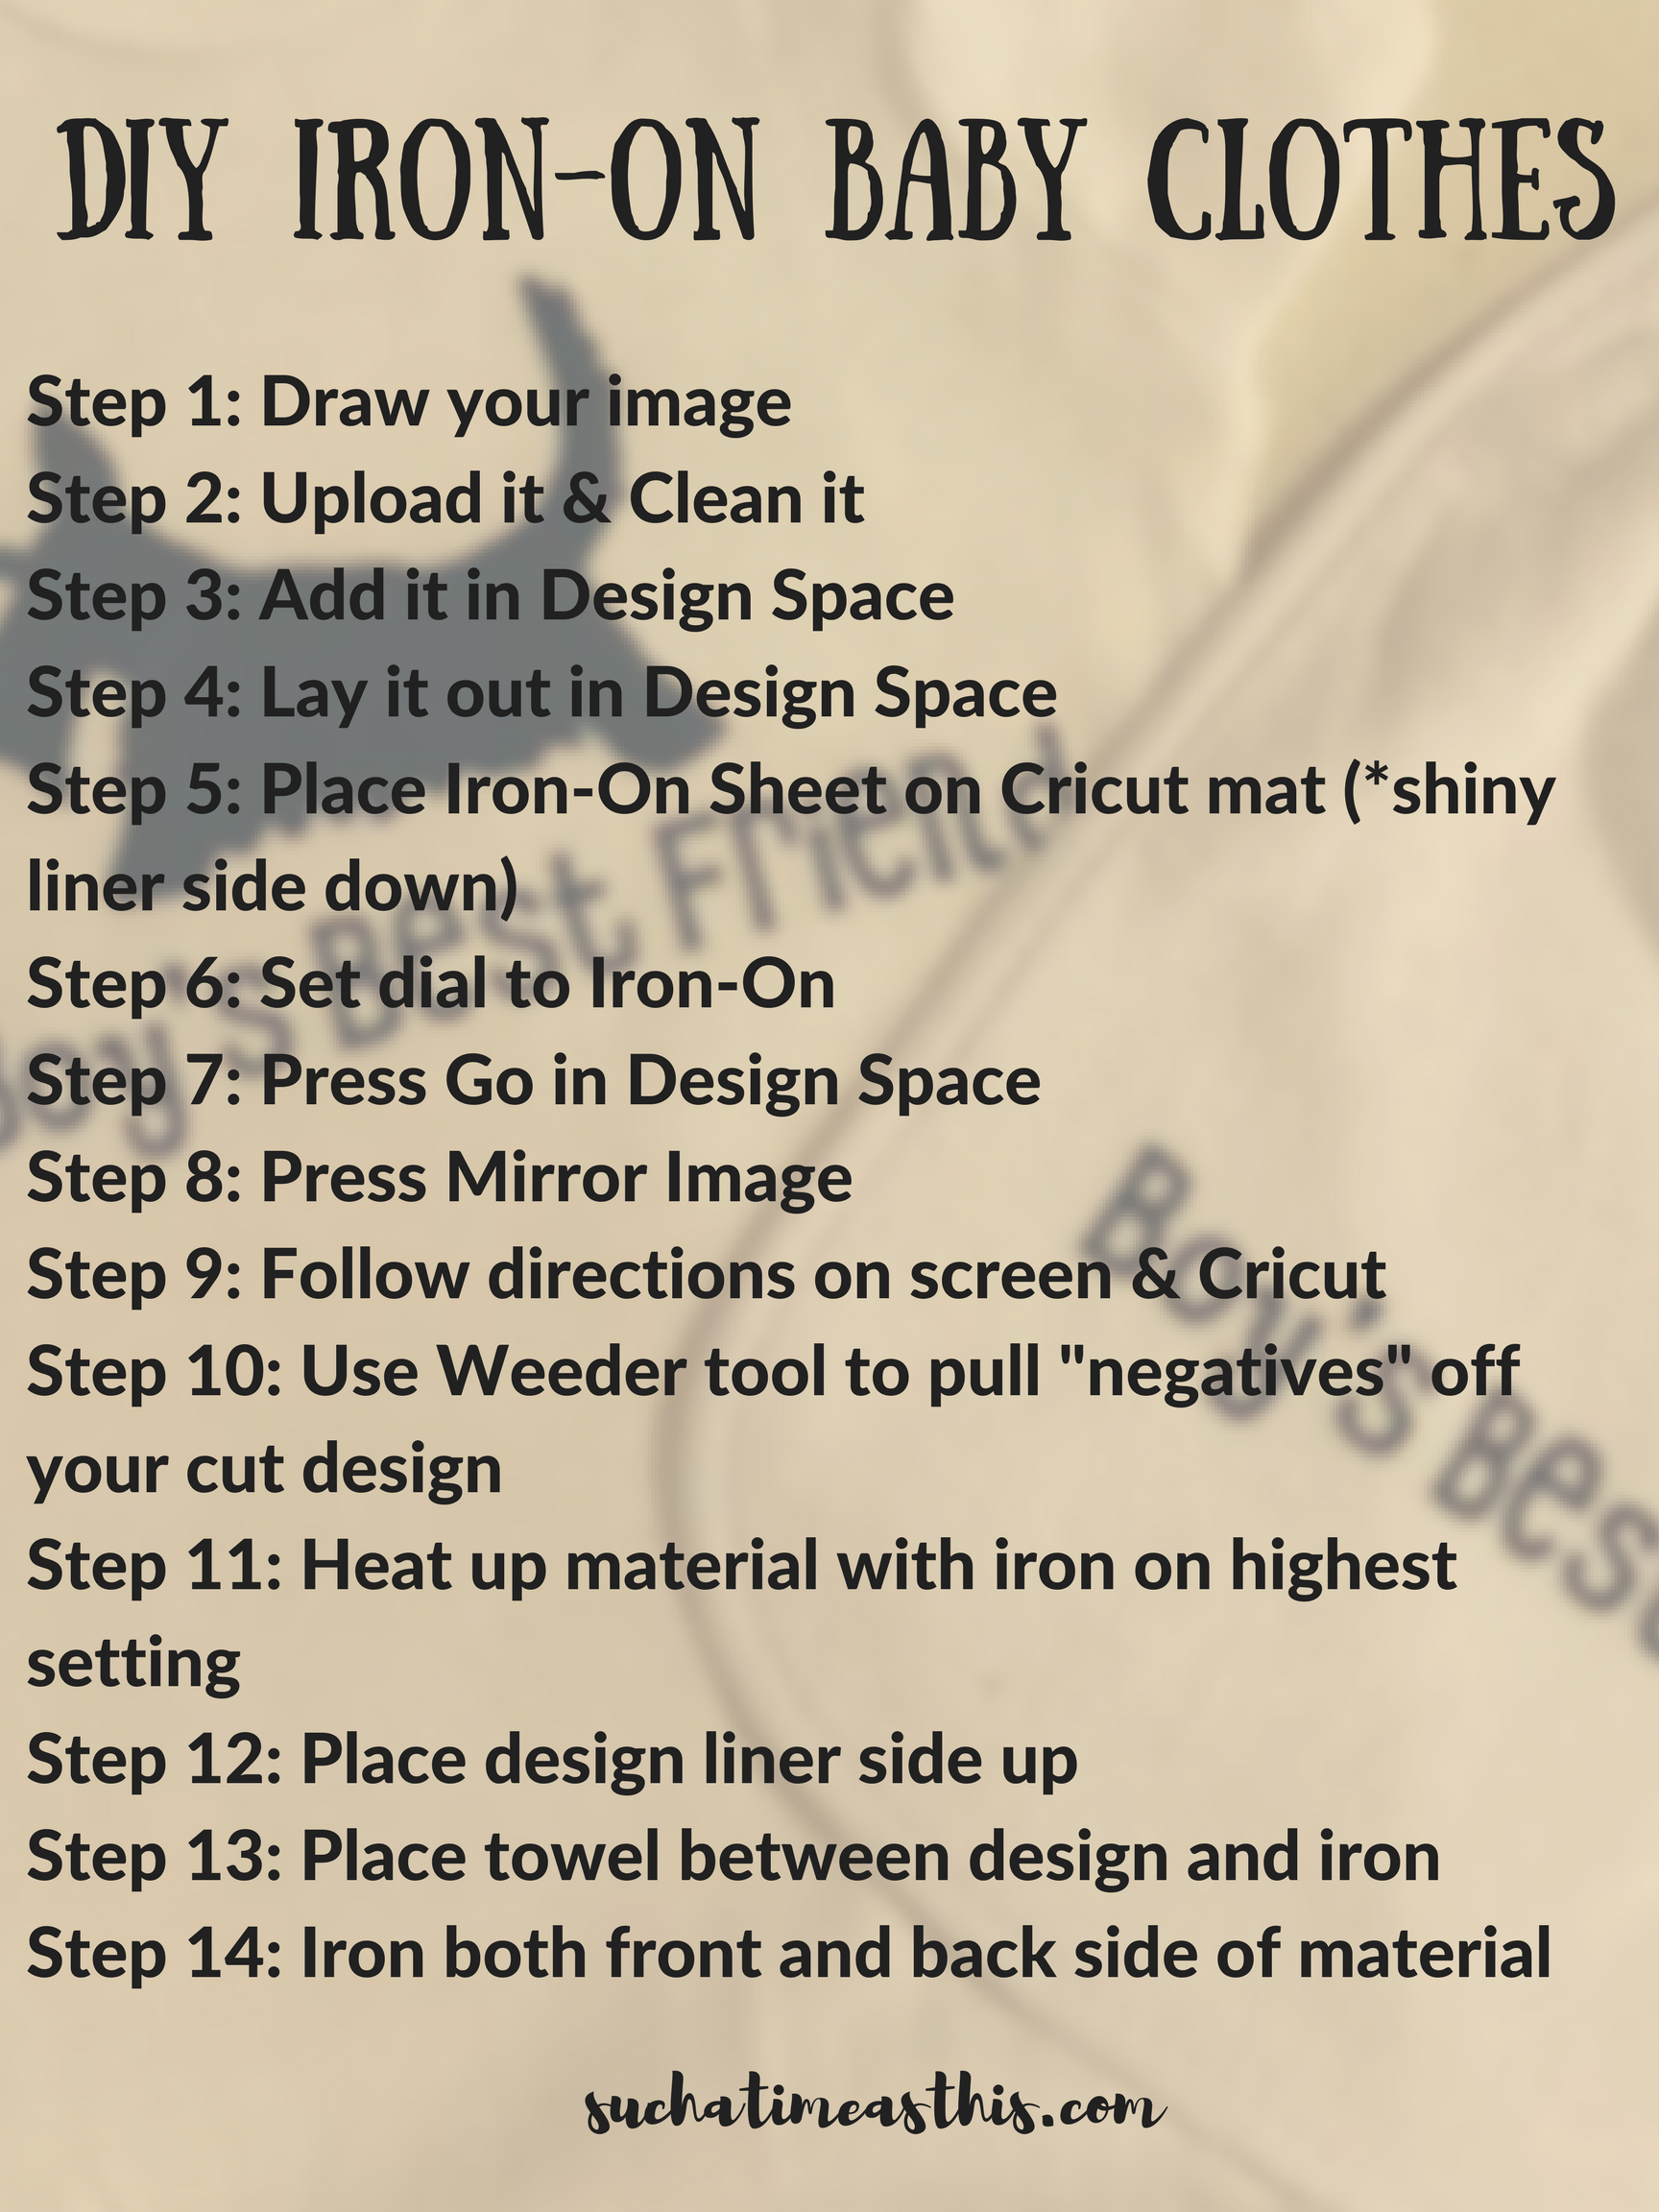
Here is an easy printable instructions you can keep with you when you are making your iron-on baby clothes. Just click the image to download the free DIY Baby Shirt for Cricut Instruction PDF printable.
To use my Scotty Dog Print for your DIY Baby Shirt click here: Scotty Dog Best Friend or here: Scotty Puppy Love.
You can find the tools, paper, and machine to make this project at cricut.com.
Supplies I used: Black Iron-on Paper, Scissors, Weeder Tool, and my Cricut Explore Air™ 2 machine, plus t-shirts and bibs.
This is a sponsored conversation written by me on behalf of Cricut. The opinions and text are all mine.